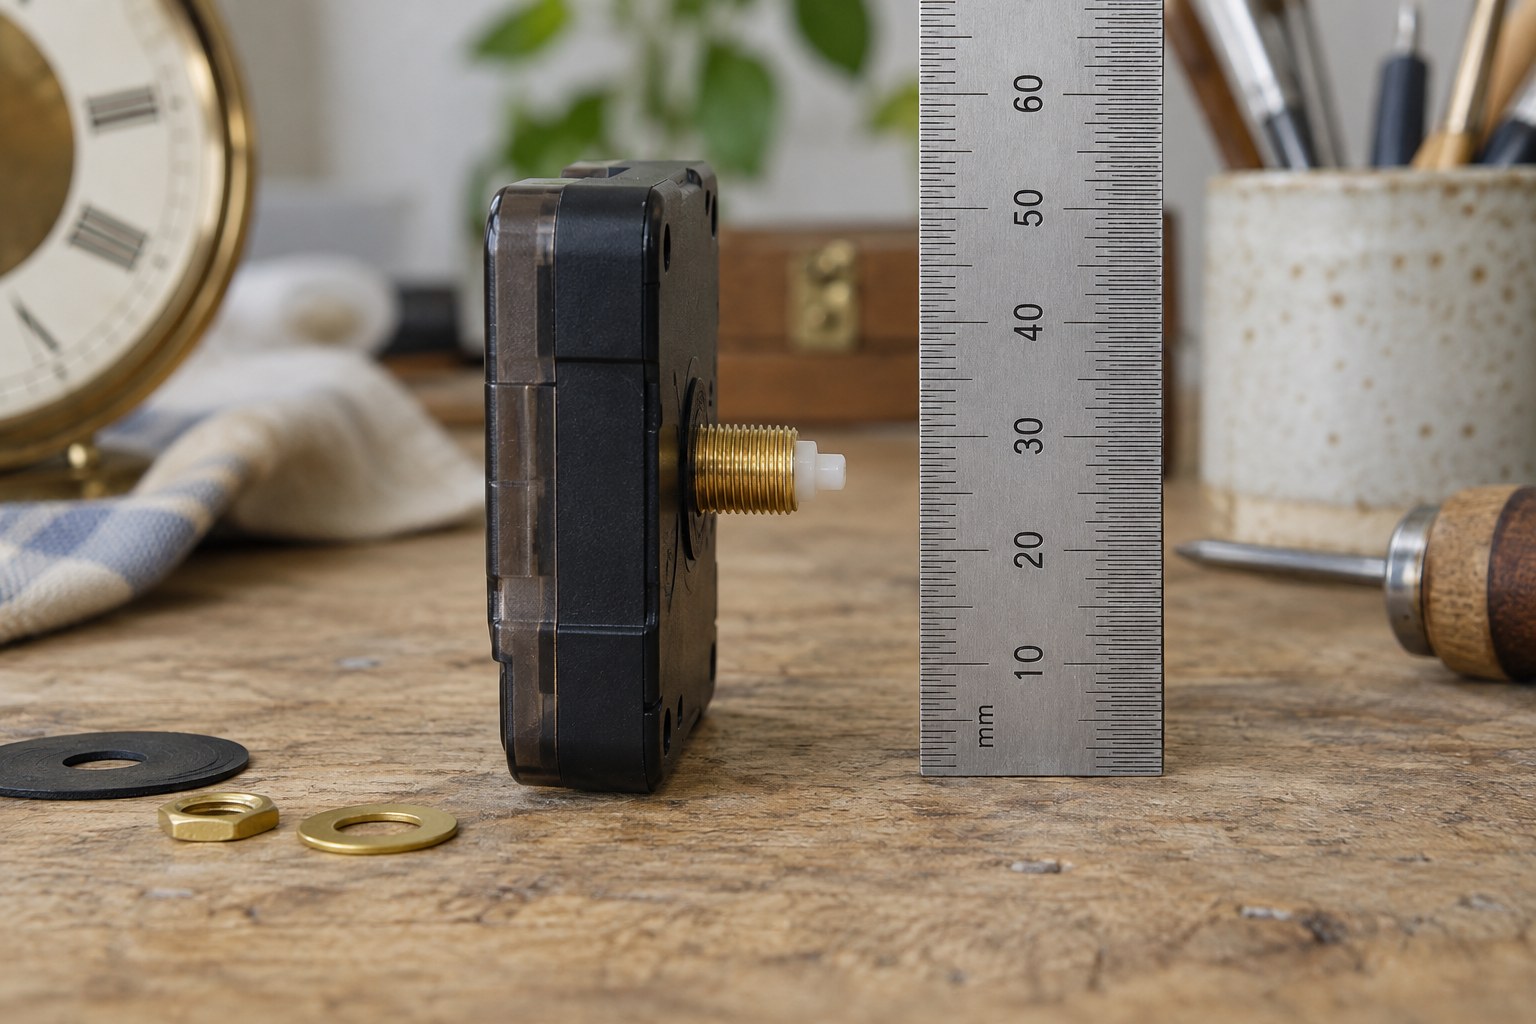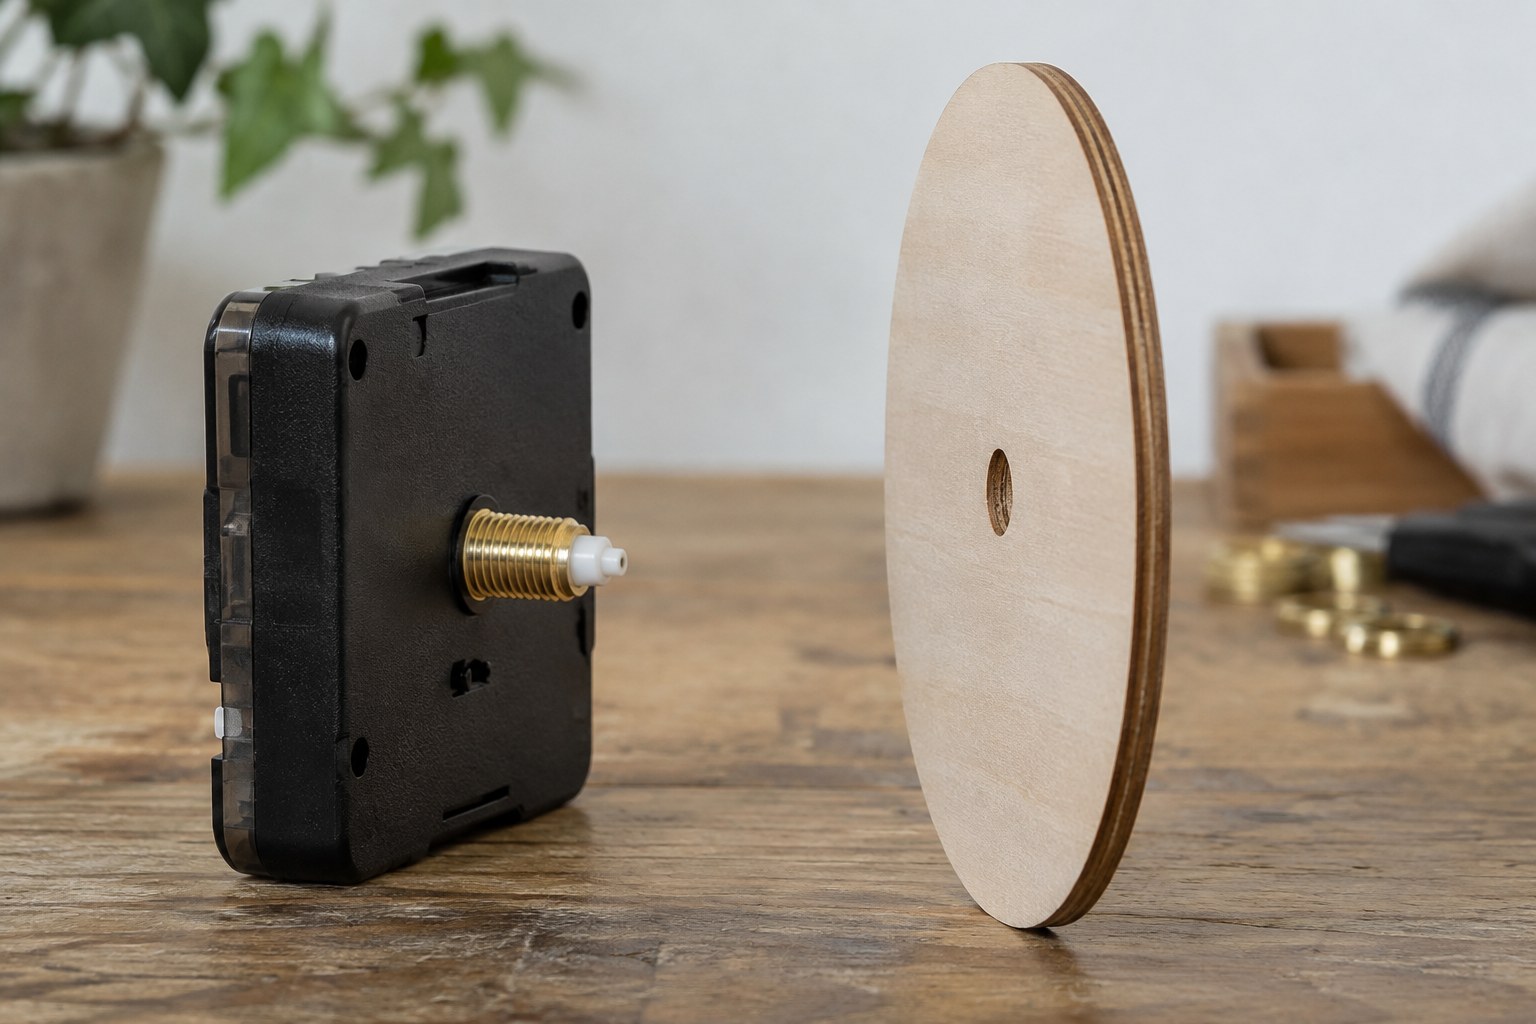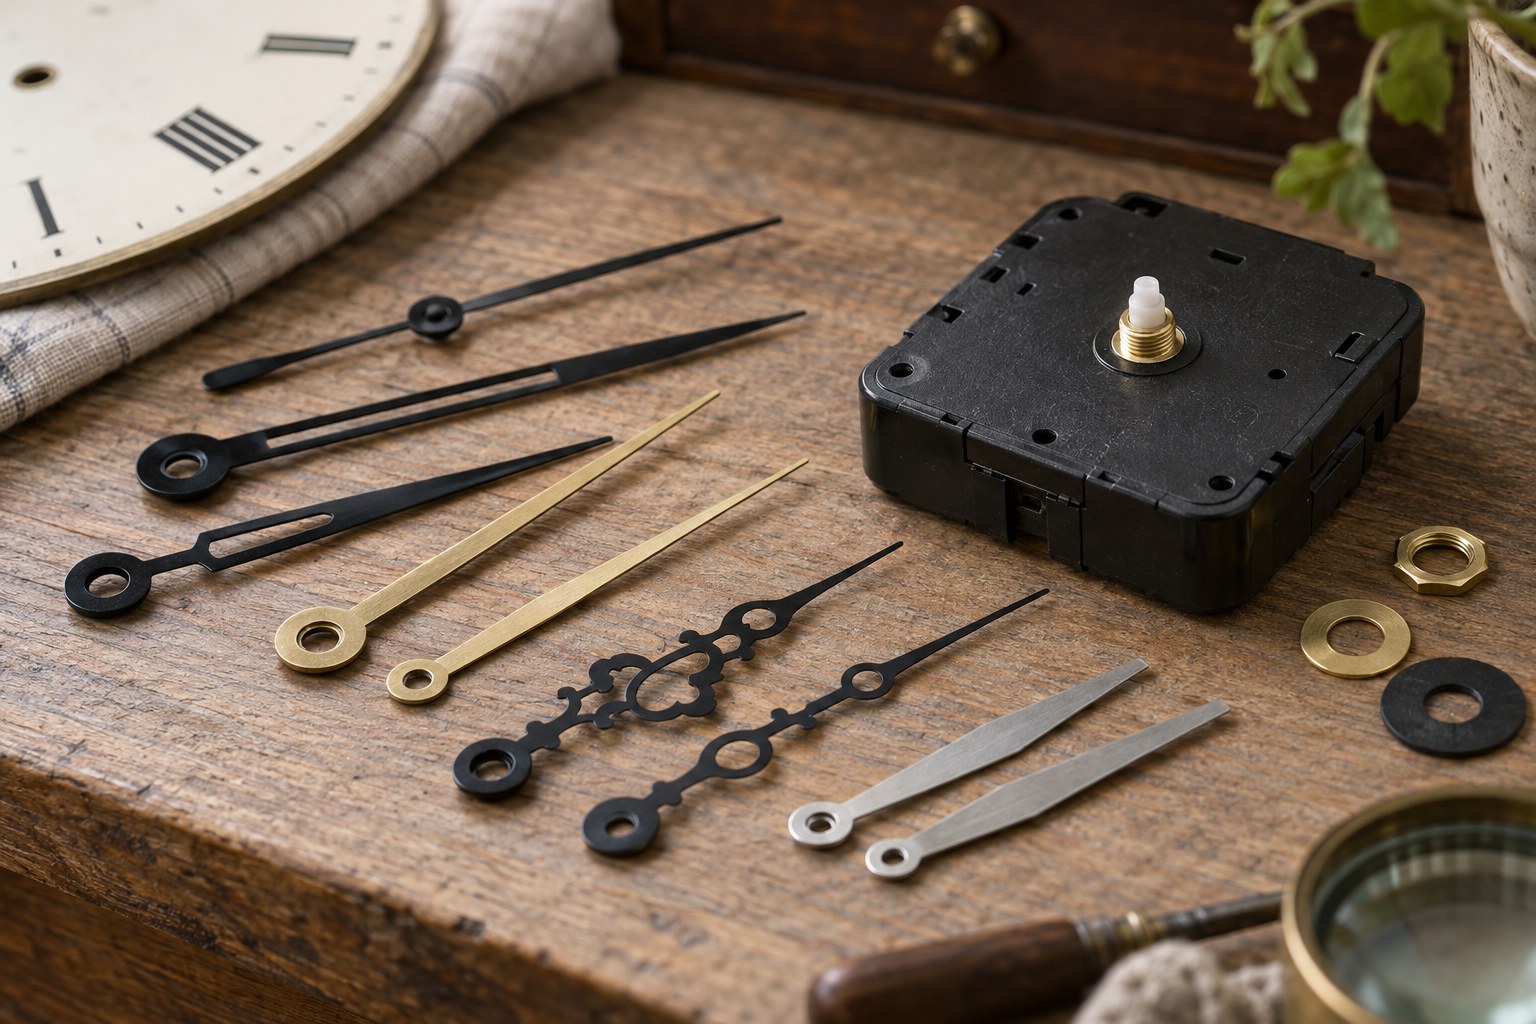
Prepare before opening
Choose a clear table with good light and enough space for the complete clock. Put a soft, stable support beneath the case without loading projecting controls or hands. Keep drinks, loose papers and other projects elsewhere. The aim is to notice every part as it comes off, rather than finding a safe place for it afterwards.
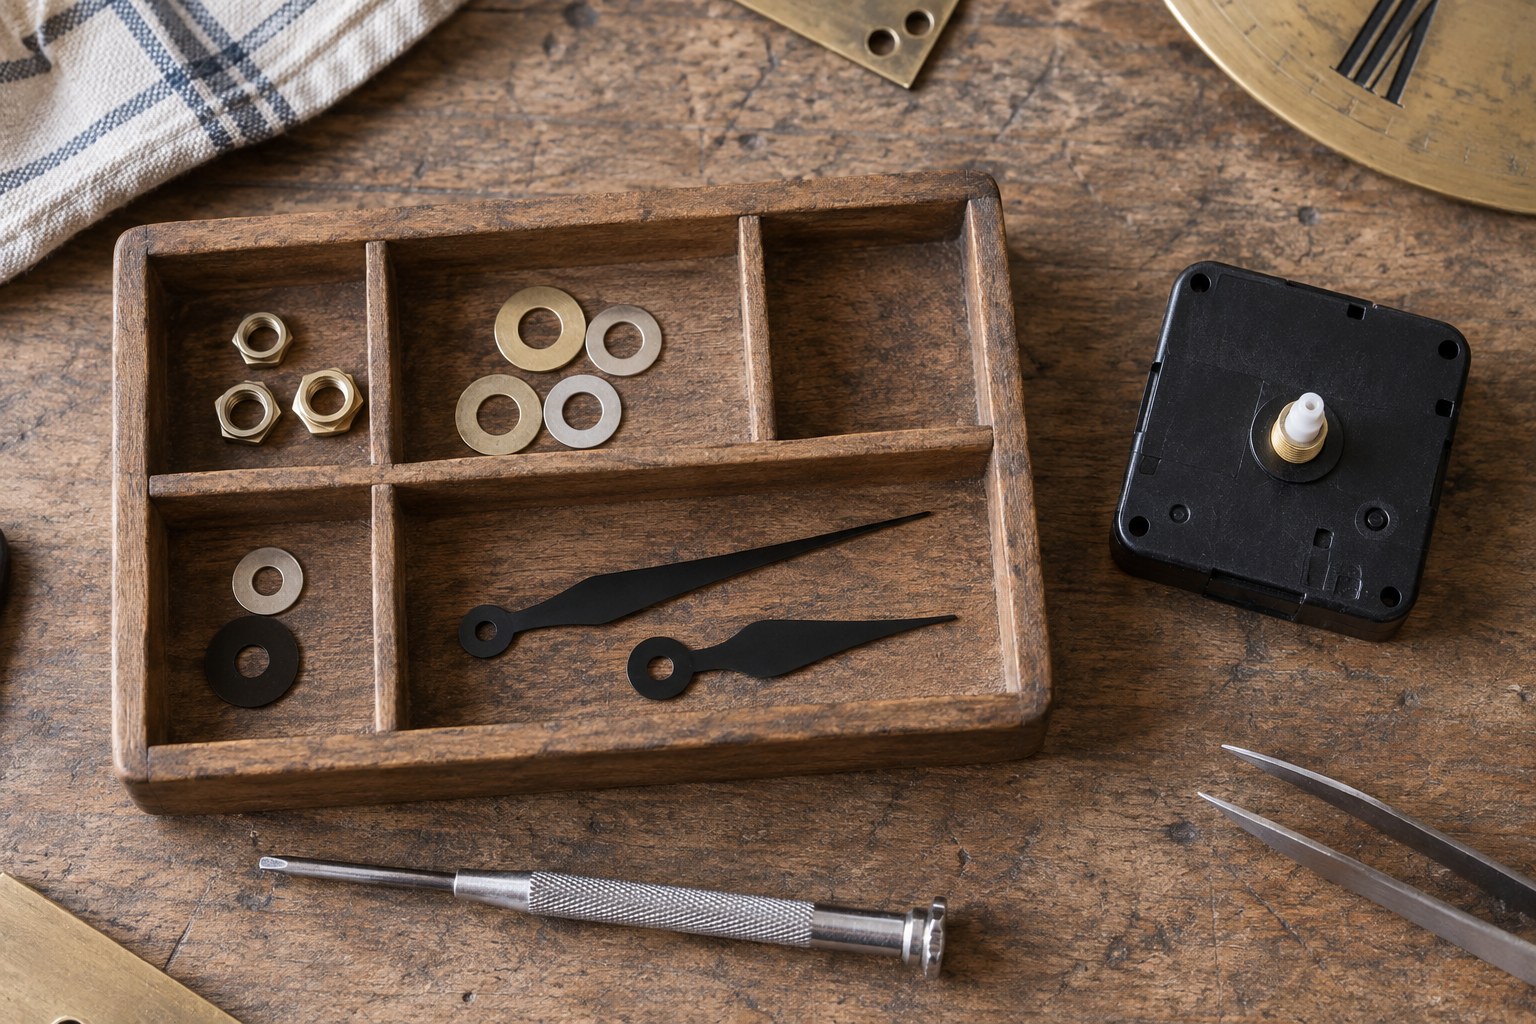
Use a shallow tray with a plain interior so small washers are visible. Divide it into compartments or use separate labelled containers. Avoid deep fabric folds which can hide a nut, and keep the tray beyond the reach of children and pets.
Record relationships, not just pieces
For a documented modern battery quartz job, remove the battery and follow the model's instructions. Photograph each accessible assembly before releasing it. Place associated pieces together and label their position: front fixing, rear retainer or cover screws, for example. Do not mix hardware from two clocks in a common pile.
A photograph of order is often more useful than a count alone. Similar washers can have different jobs, and a small spacer can affect the hand stack. If a part falls out unexpectedly, stop to identify where it belongs instead of treating it as a spare.
Keep the tray until testing ends
Check the instructions against the tray during reassembly. A remaining component needs an explanation, even if the clock appears to run. Equally, avoid adding an extra washer merely because it came from a previous project and seems to fill a gap.
Once the clock has passed its checks, store genuinely unused supplied parts with the movement reference and assembly instructions. A small sealed bag inside a labelled project box is easier to recognise months later than an anonymous tin of brass fittings. The tray itself should be emptied and cleaned before the next job begins.