Make the drawing full size
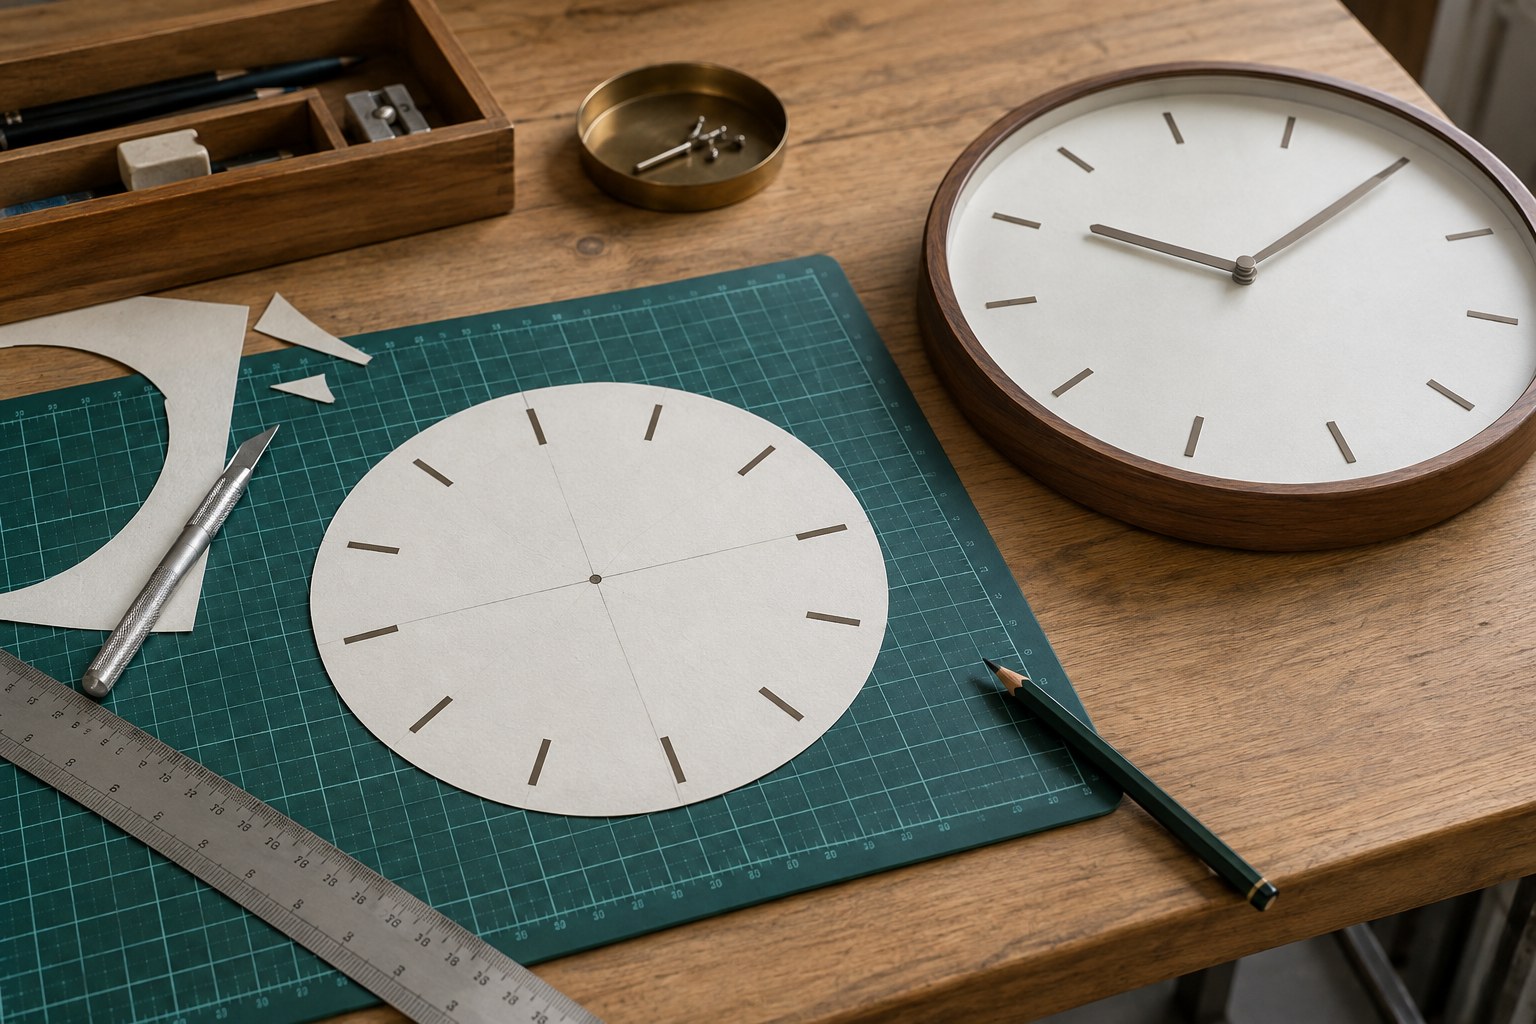
Start with the visible dial diameter, not the outer case measurement. Draw or print a circle at actual size and add the area hidden by the bezel. Include a clear centre mark and the intended minute-hand reach. Verify the print with a ruler; a printer's fit-to-page option can quietly change the scale.
Use ordinary paper for this visual exercise and keep it outside the assembled clock. It is a design trial, not a loose overlay to place around moving hands. A finished dial needs suitable material, secure support and compatibility with the movement's mounting arrangement.
Test more than one reading
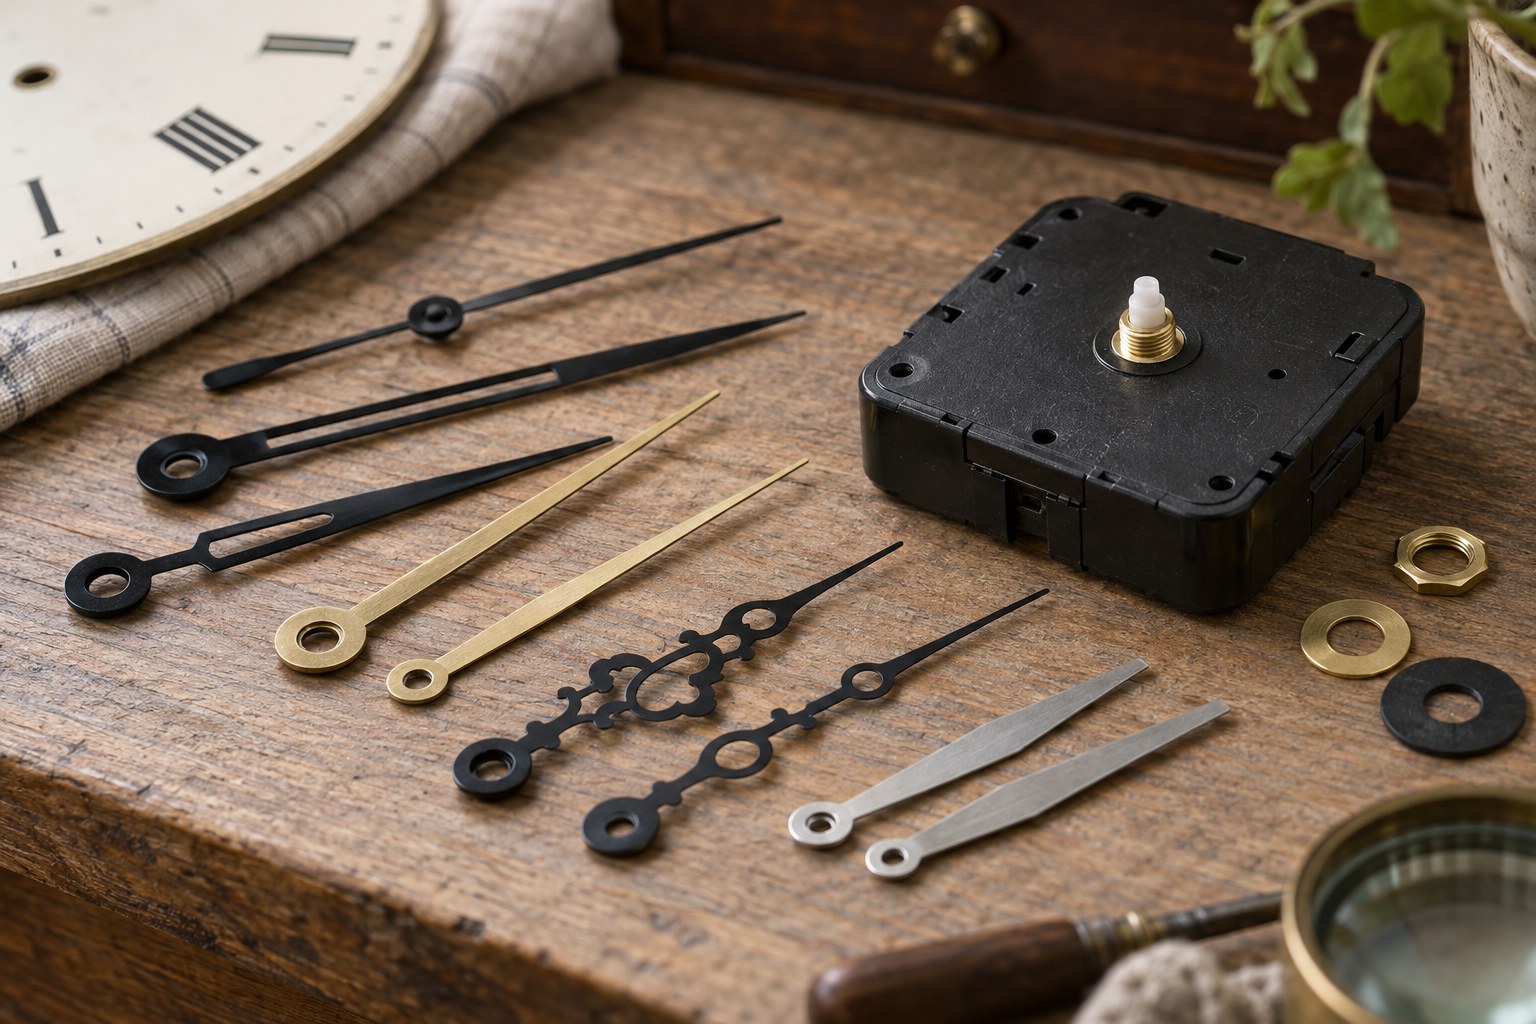
Cut simple paper hands in the proposed shapes and position them on the mock-up without attaching them to a movement. Try readings with the hands close together, opposite one another and over the busiest part of the pattern. The hour and minute hands should be easy to tell apart in every arrangement.
Put the drawing where the finished clock will be seen and step back to the normal viewing position. Repeat from a doorway or chair if those views matter. A design that looks balanced at arm's length may have numbers too small to be useful from across the room.
Revise one thing at a time
Make a second copy with a single change, such as heavier hands or quieter background detail. Comparing two physical versions makes the effect clearer than repeatedly editing an image on a bright screen. Check both in daylight and under the lamps normally used in that space.
Write the chosen dimensions and colours on the reverse before putting the drawings away. Keep one uncut reference copy to compare with the finished work. Only then settle the final material and fitting method, remembering that thickness and flatness are mechanical constraints which a successful paper layout cannot verify.