Define what the board must do
A backing may support a printed face, carry a movement or simply sit behind a decorative surround. Write down which jobs yours needs to perform. A thin sheet that keeps paper flat is not automatically strong enough to support the whole clock or accept its hanging hardware.
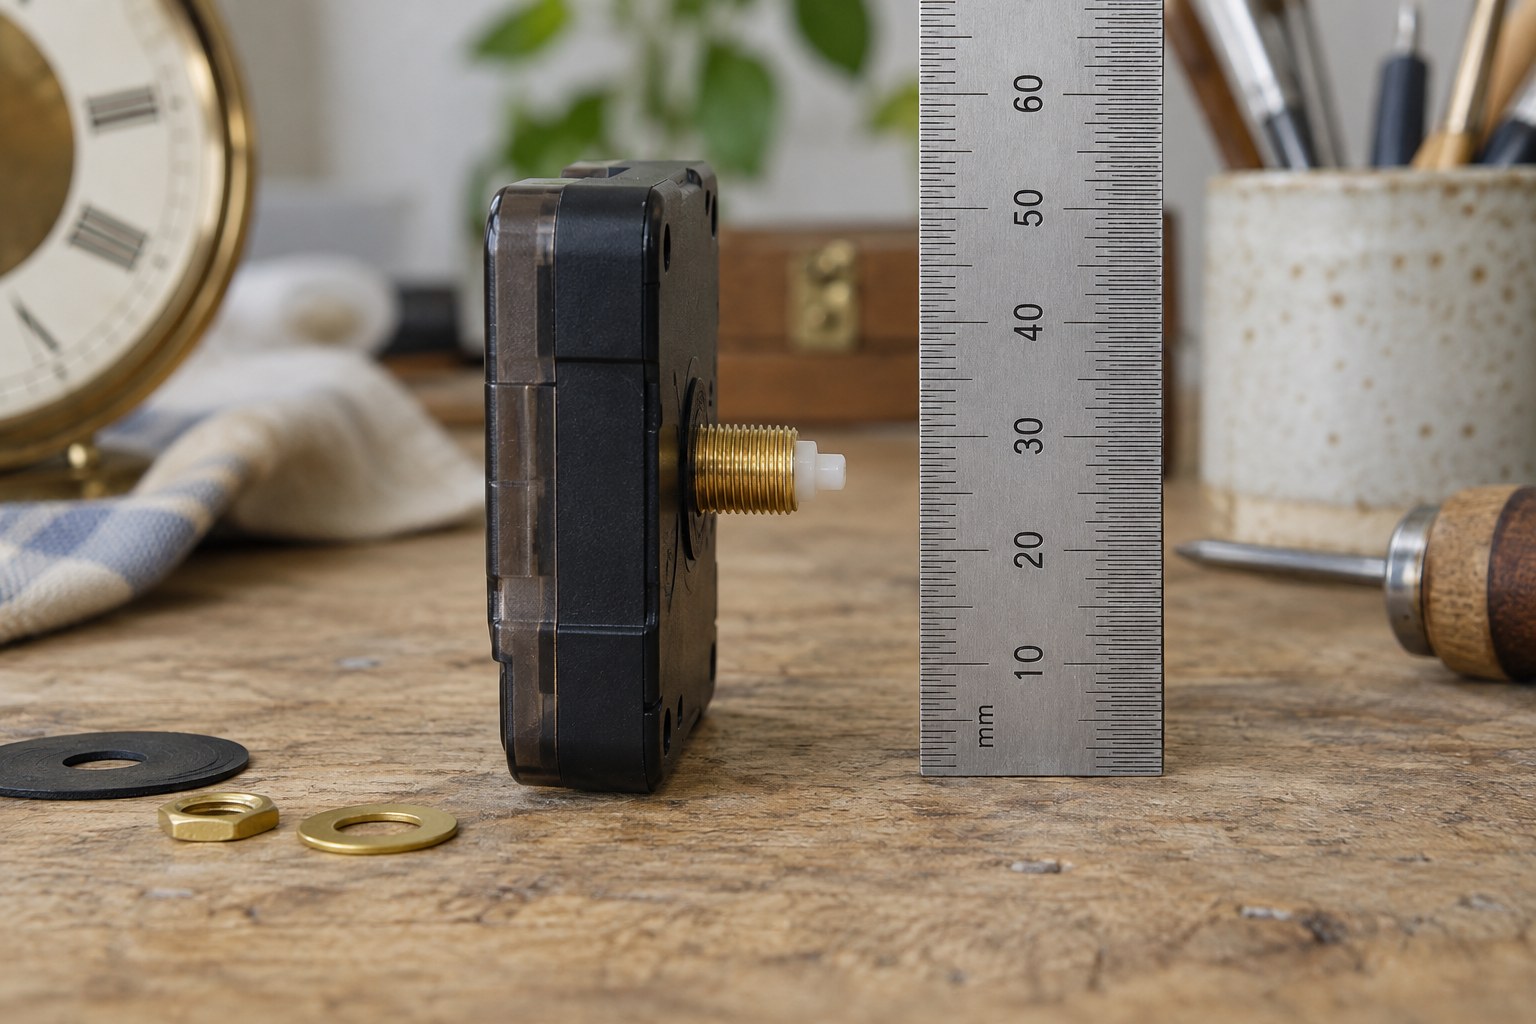
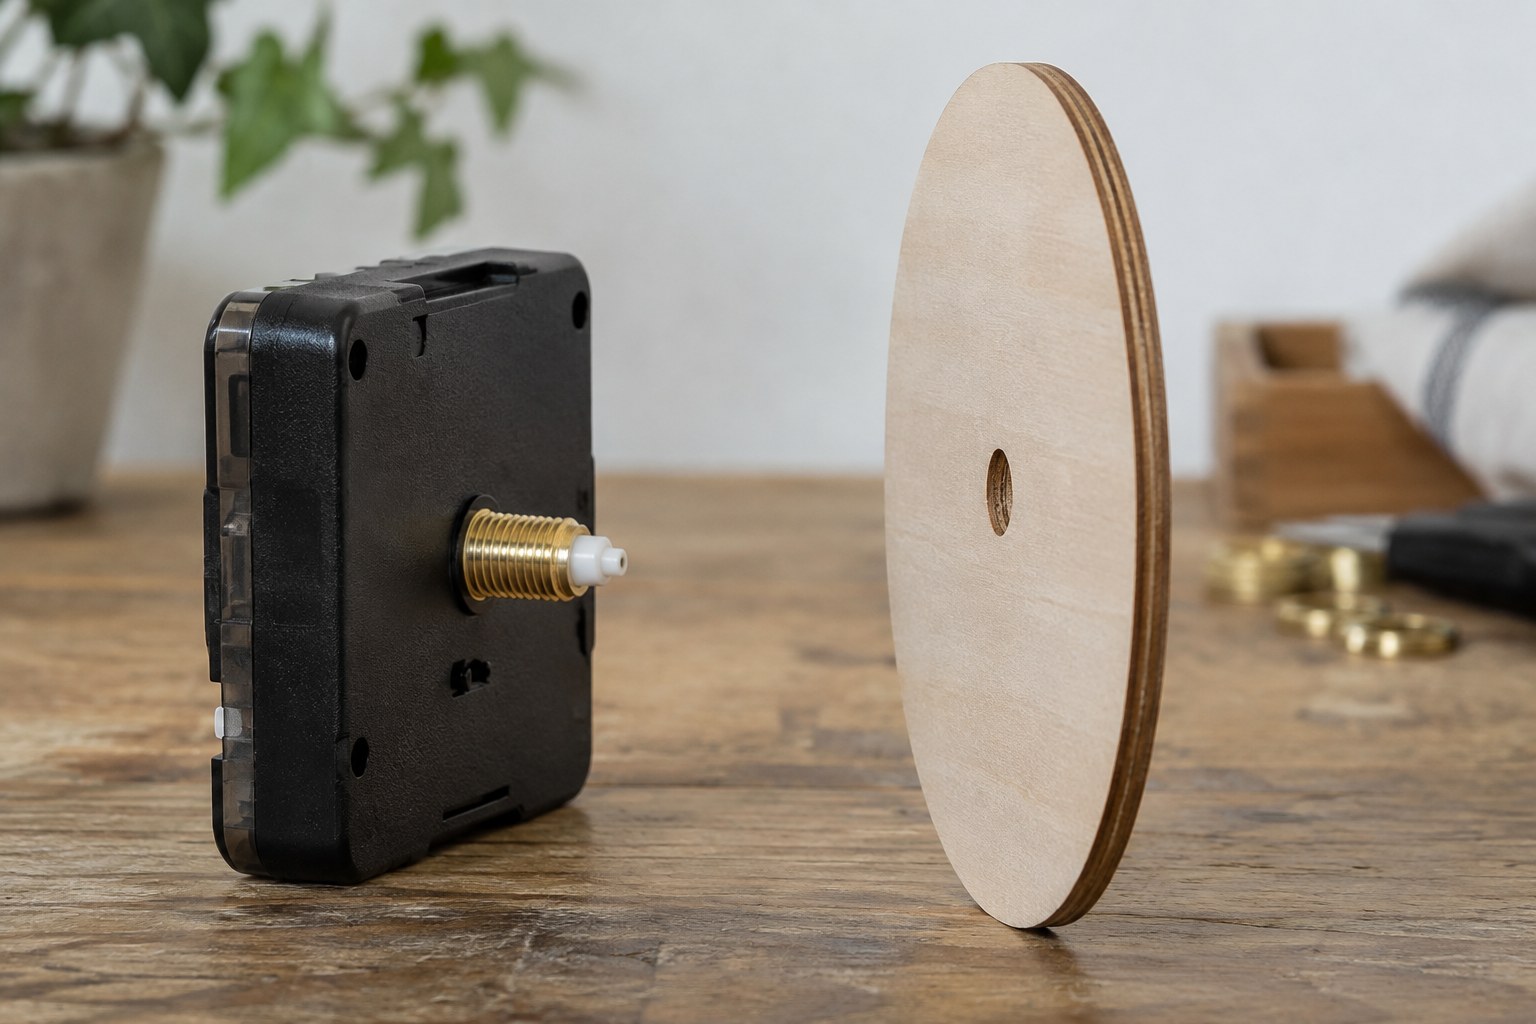
For a first project, use a documented clock kit or a suitable purpose-made blank. Check the specified thickness and mounting arrangement before choosing a decorative surface. The backing, face and any required hardware must fit the movement as a complete stack, rather than as unrelated purchases.
Plan removal from the start
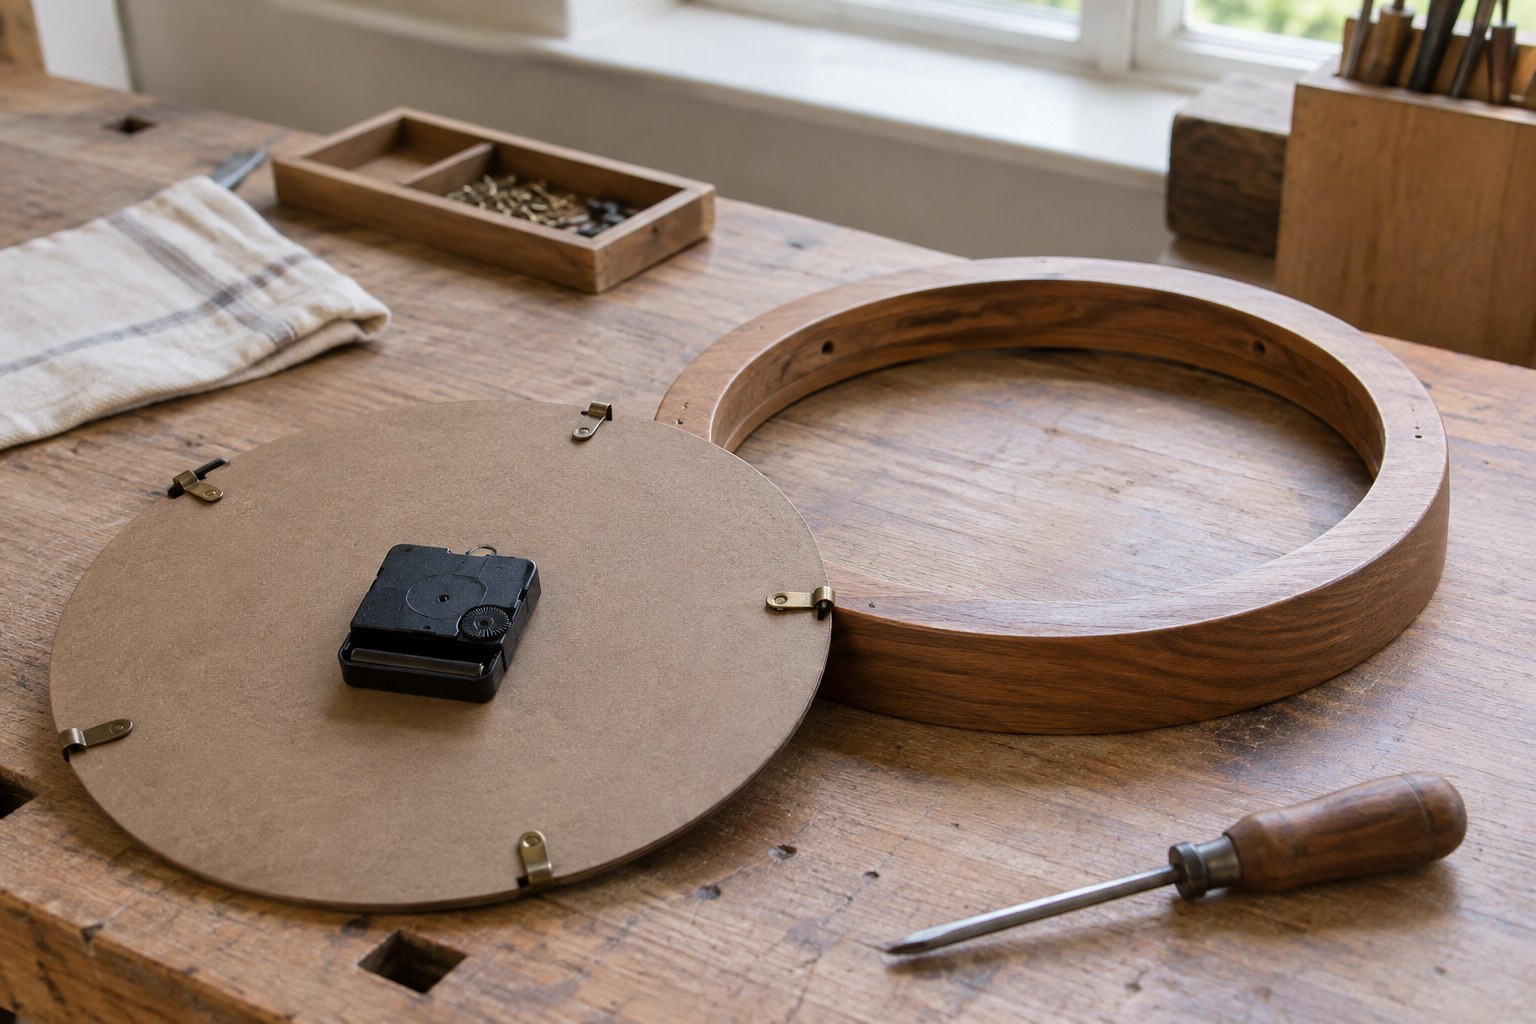
Sketch how the backing will be accessed after the clock is assembled. Battery changes and the setting wheel should remain reachable without pulling on the hands. A frame that traps the movement behind a permanently glued panel may look tidy initially but makes ordinary maintenance unnecessarily difficult.
Prefer a fastening arrangement designed for that frame or kit, with accessible retainers and adequate support. Do not rely on a decorative paper layer to carry weight. Keep adhesives away from the shaft and movement, and follow the material maker's curing instructions wherever an adhesive is part of the approved construction.
Check the finished shape
Place the backing on a known flat surface before fitting components. Look for bowing, damaged corners or a centre opening that no longer lines up with the face. A forced fit can distort a board and change the distance between the hands and dial.
Test access with the parts in position before closing the frame. Photograph the arrangement and keep any spare retainers with the project notes. If the backing needs force to remove or the clock cannot stand or hang securely with it installed, revise the construction before treating the decorative front as finished.