Treat the frame as a structure
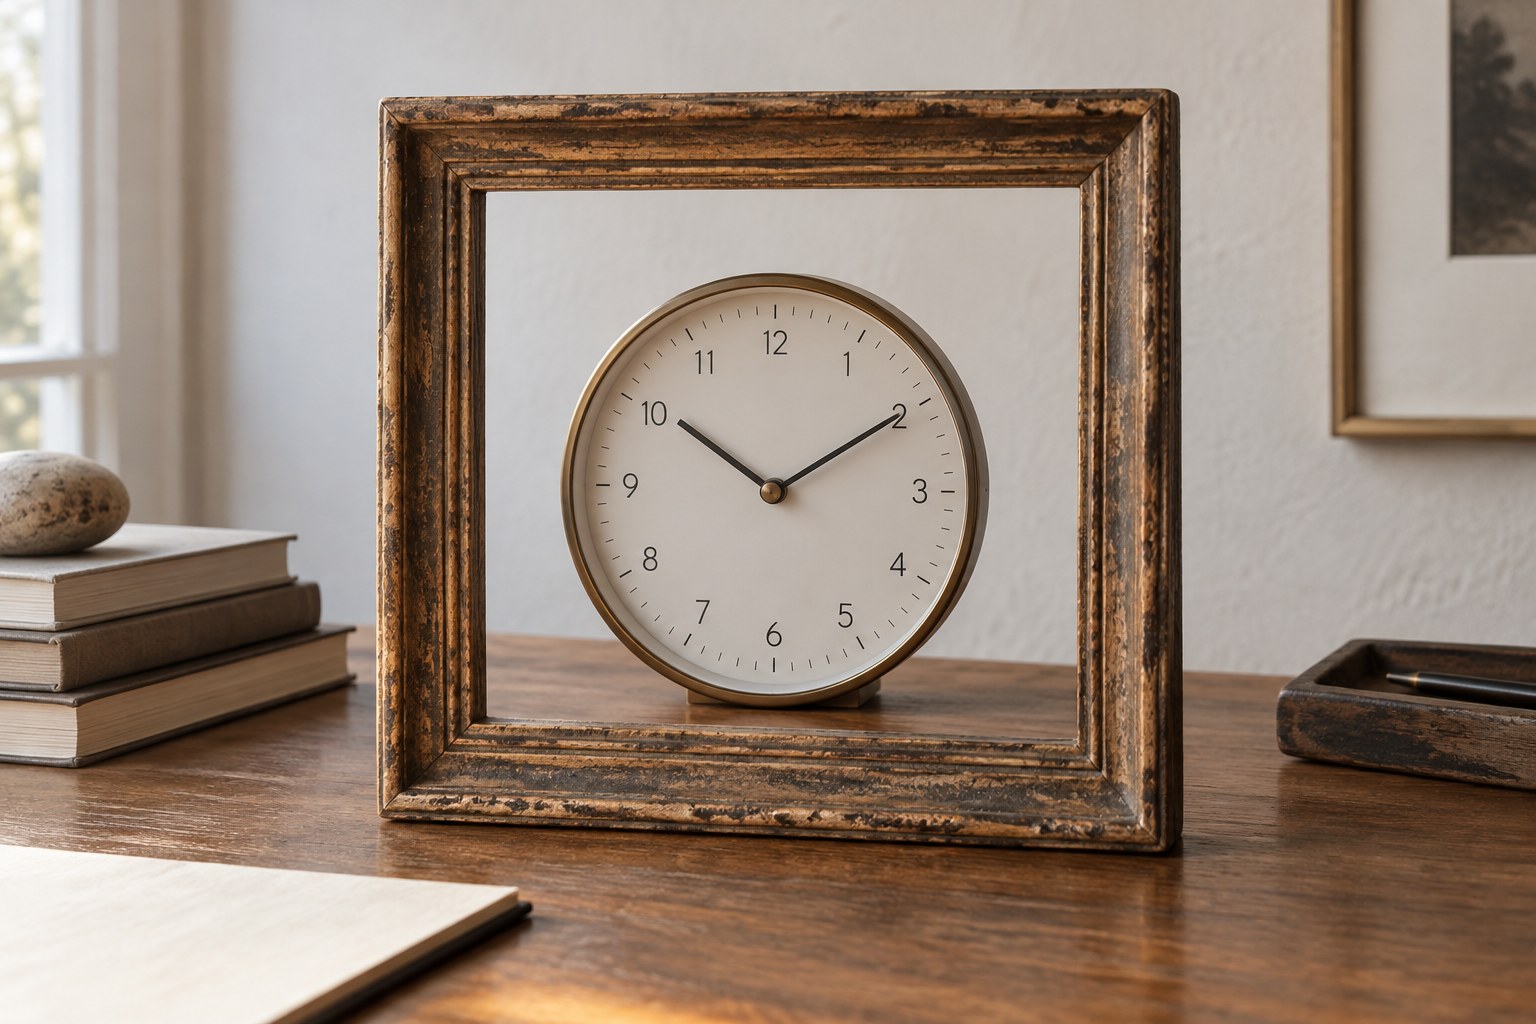
Check that the frame is sound, its corners are secure and its rear retainers are intact. The clock will add components and possibly weight beyond the original picture arrangement. Do not assume old picture wire or a thin backing board is suitable for the finished object without checking the complete support method. Measure the internal opening and depth before planning the face. A broad moulding reduces the visible dial area, while a shallow rebate may leave insufficient room for the hand stack beneath the glazing. Removing the glass changes the design and dust protection rather than automatically solving every fit issue.
Plan the clock as an insert
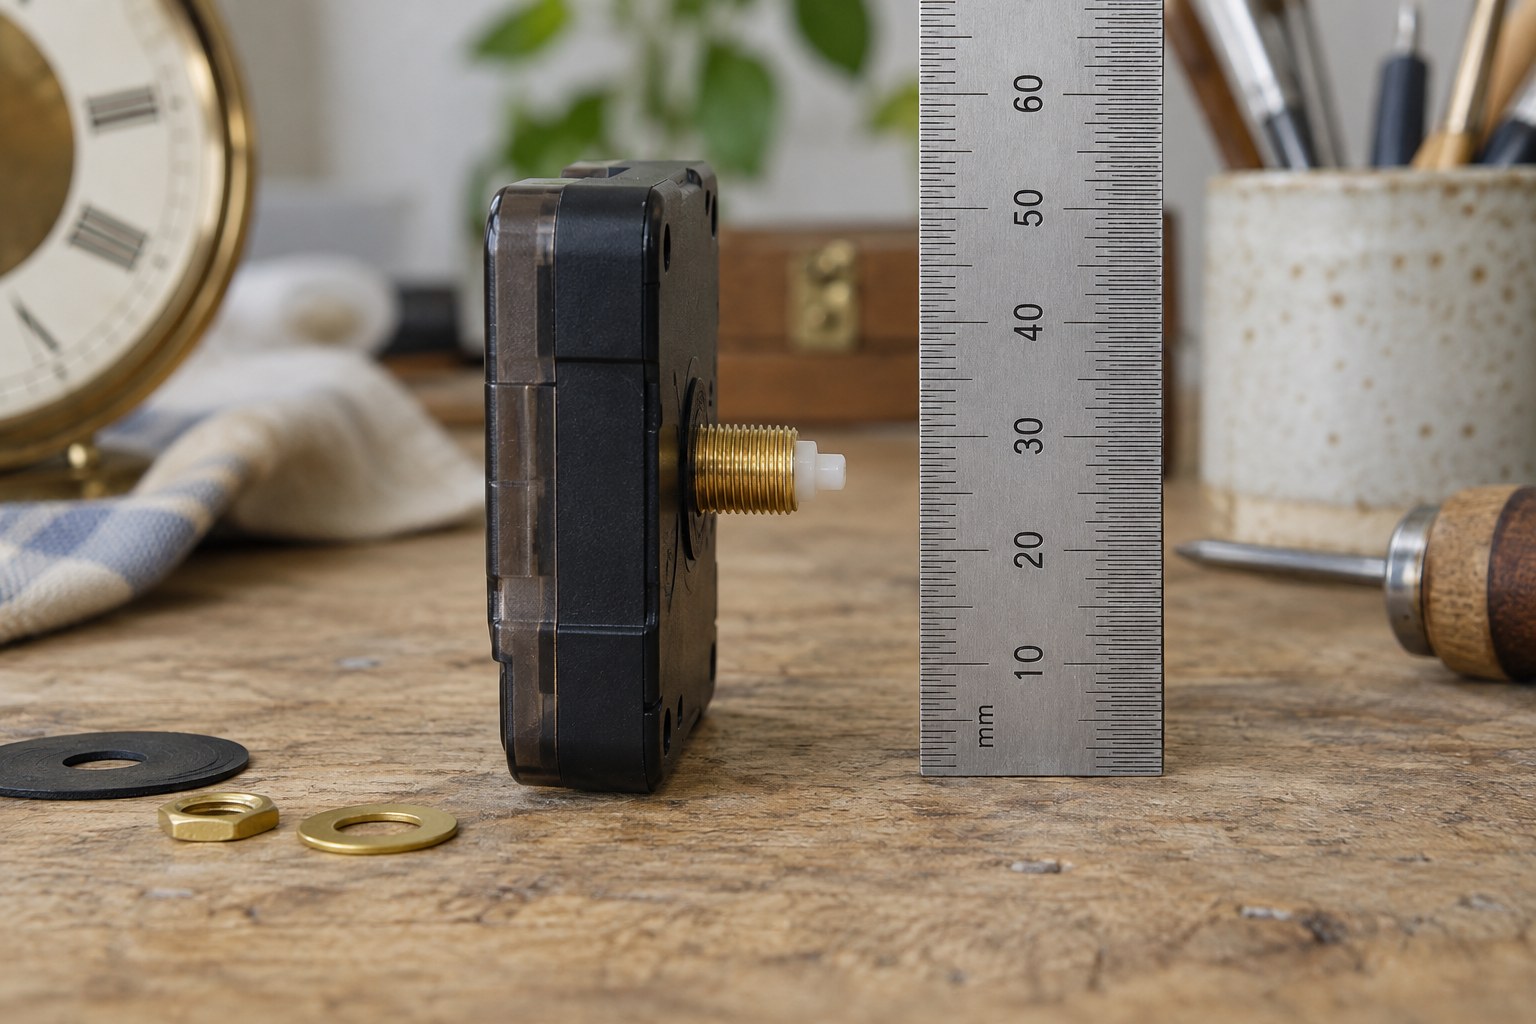
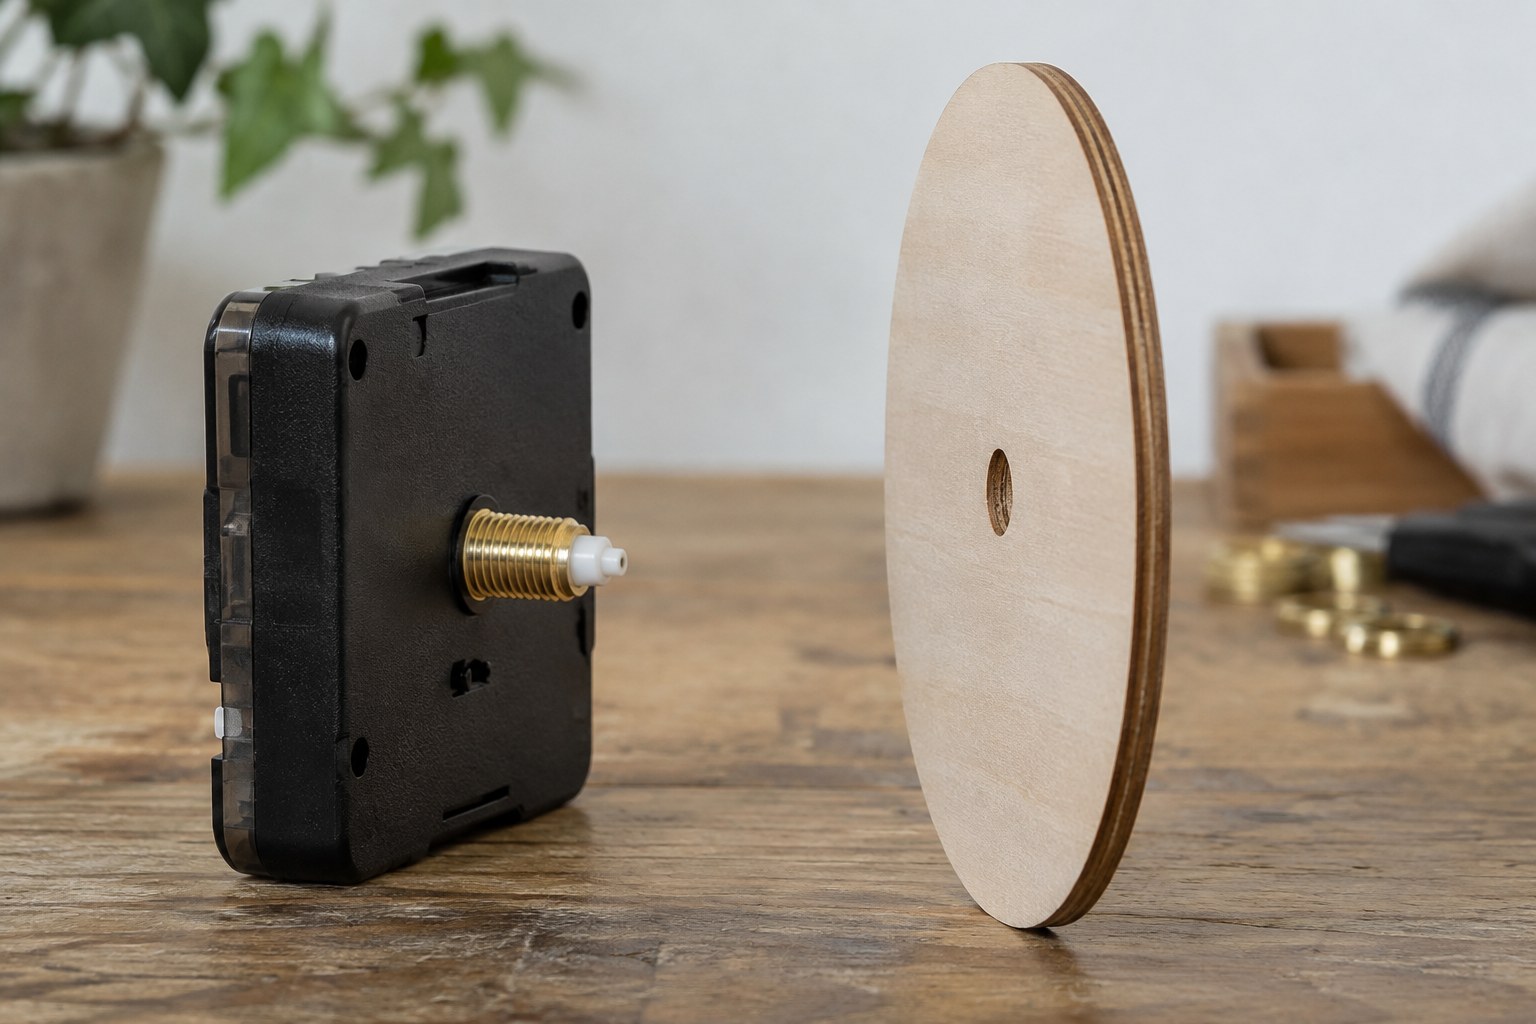
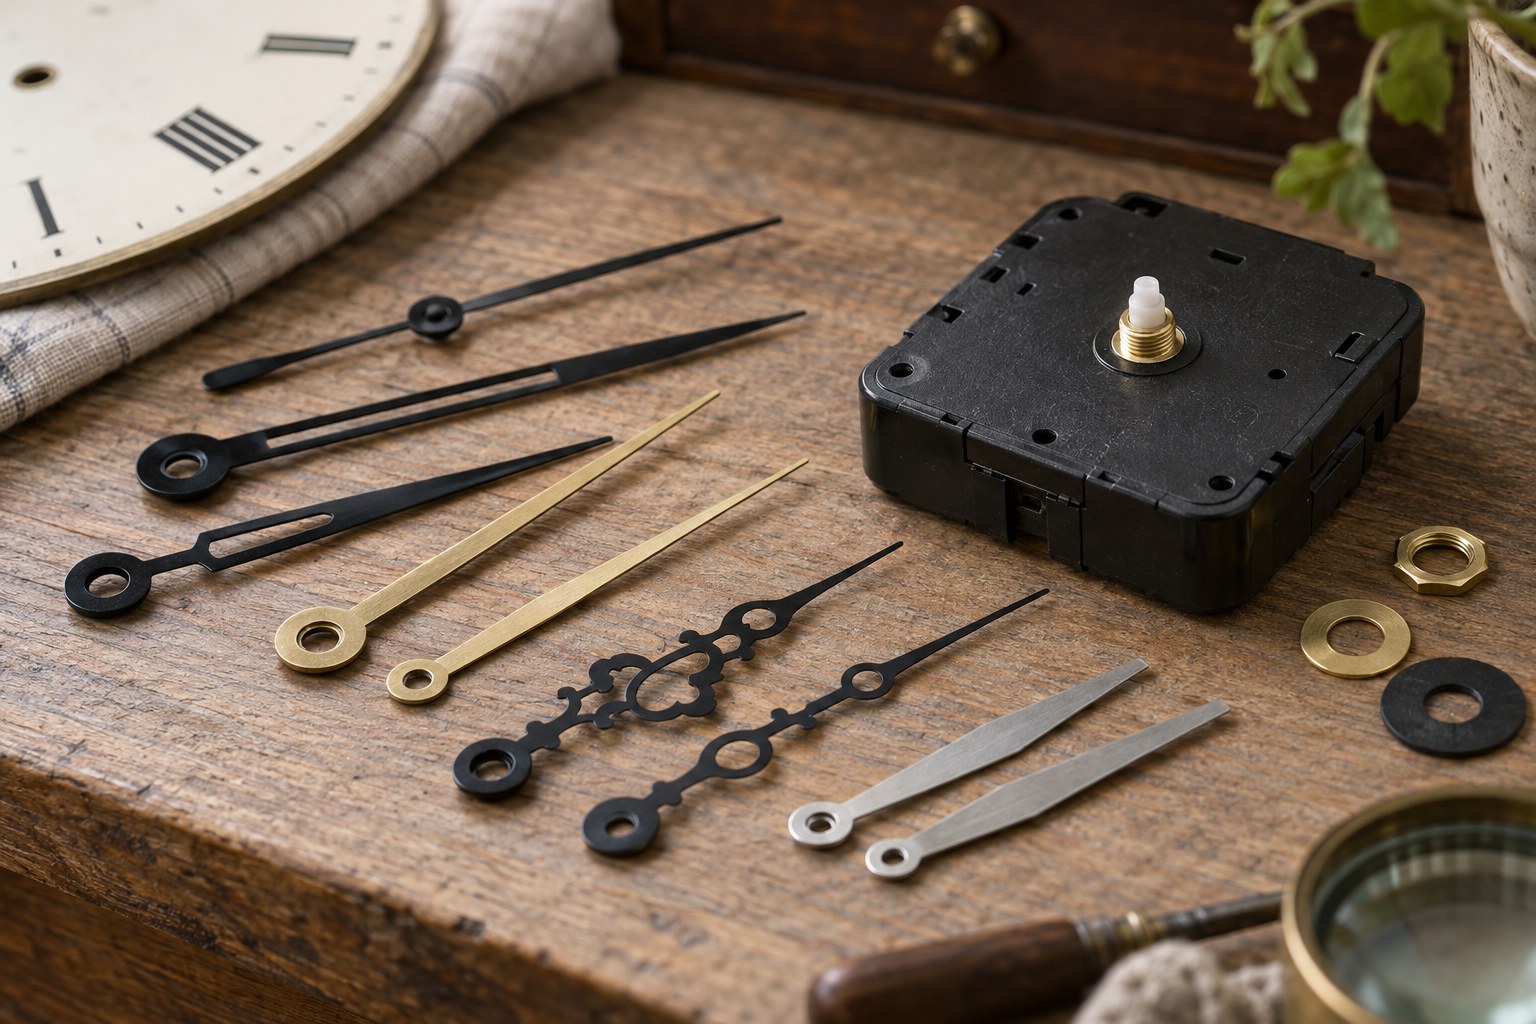
A removable, purpose-made dial and backing can keep the frame's role separate from the movement's mounting. Confirm the combined material thickness with the movement supplier. The hands must clear the surround through their whole travel, including any long counterweight behind the centre.
Make a paper face first and view it inside the frame at normal reading distance. A rectangular surround does not require the numbers to follow its corners; a clear circular hour layout may be more useful. Check that the minute hand reaches its scale without disappearing beneath an overhanging inner edge.
Leave a practical back
Keep the setting control and battery compartment accessible. Avoid permanently closing the rear with glue or decorative paper which must be torn away for a battery change. Use a retaining arrangement suited to the frame and ensure no pressure is applied to the movement body.
Test the completed clock securely before hanging, then assess the final weight and attachment points. For a fragile or historically interesting frame, choose a separate modern surround instead of altering it. A successful reuse should not depend on concealed weakness or a fixing chosen only because it happened to be left in the wall.