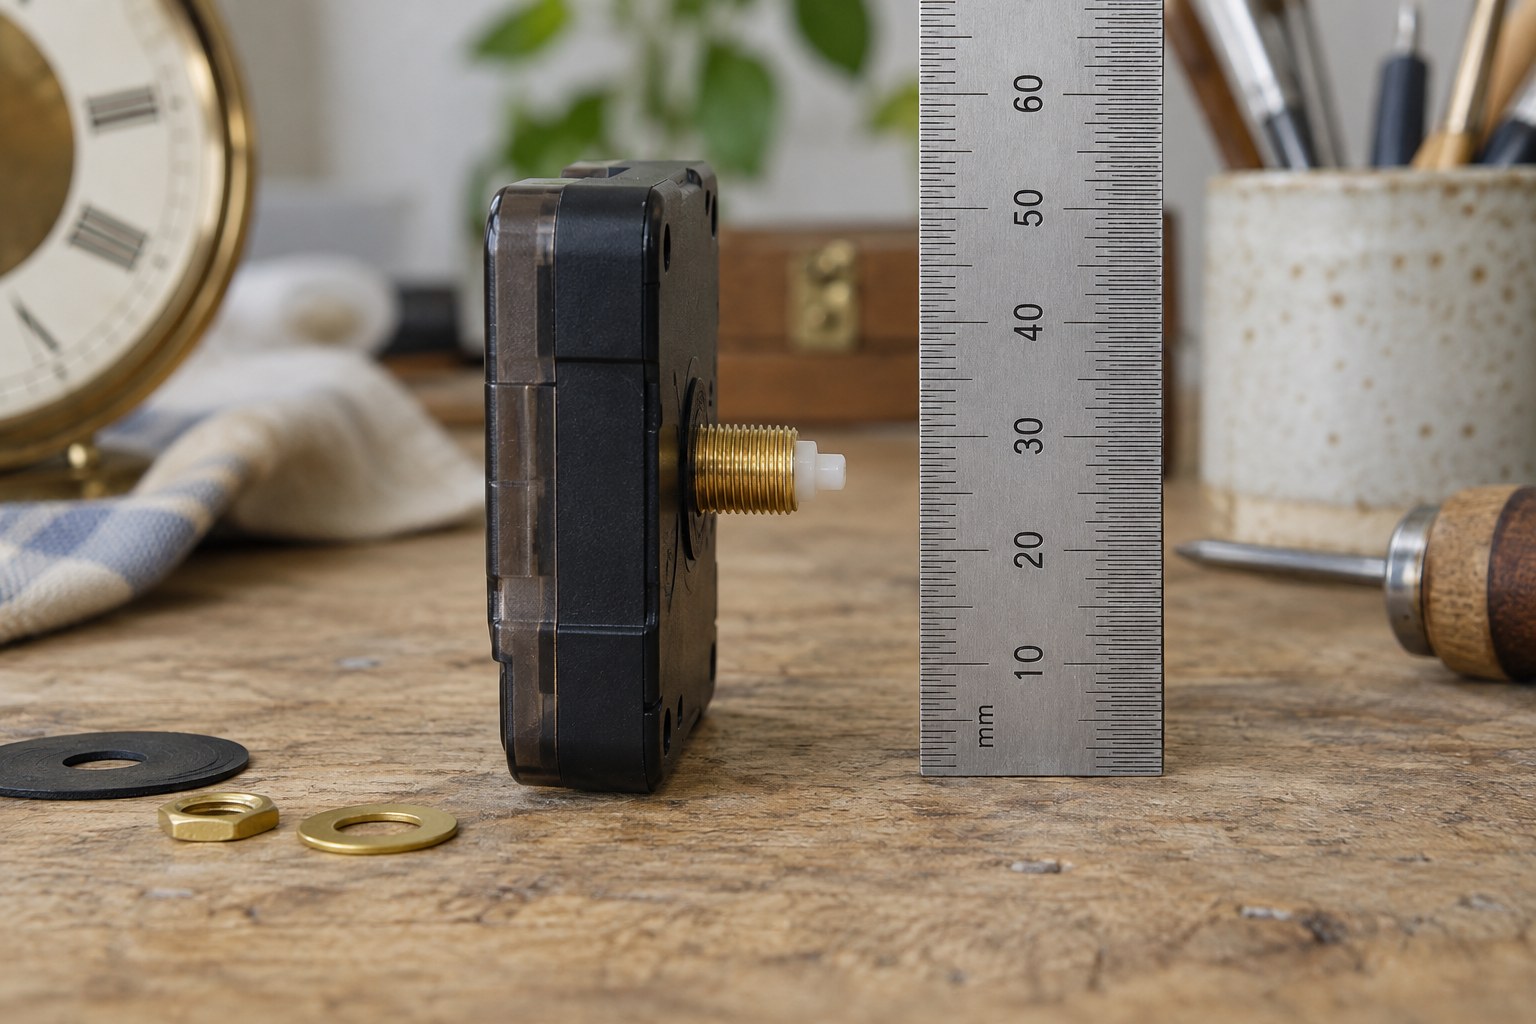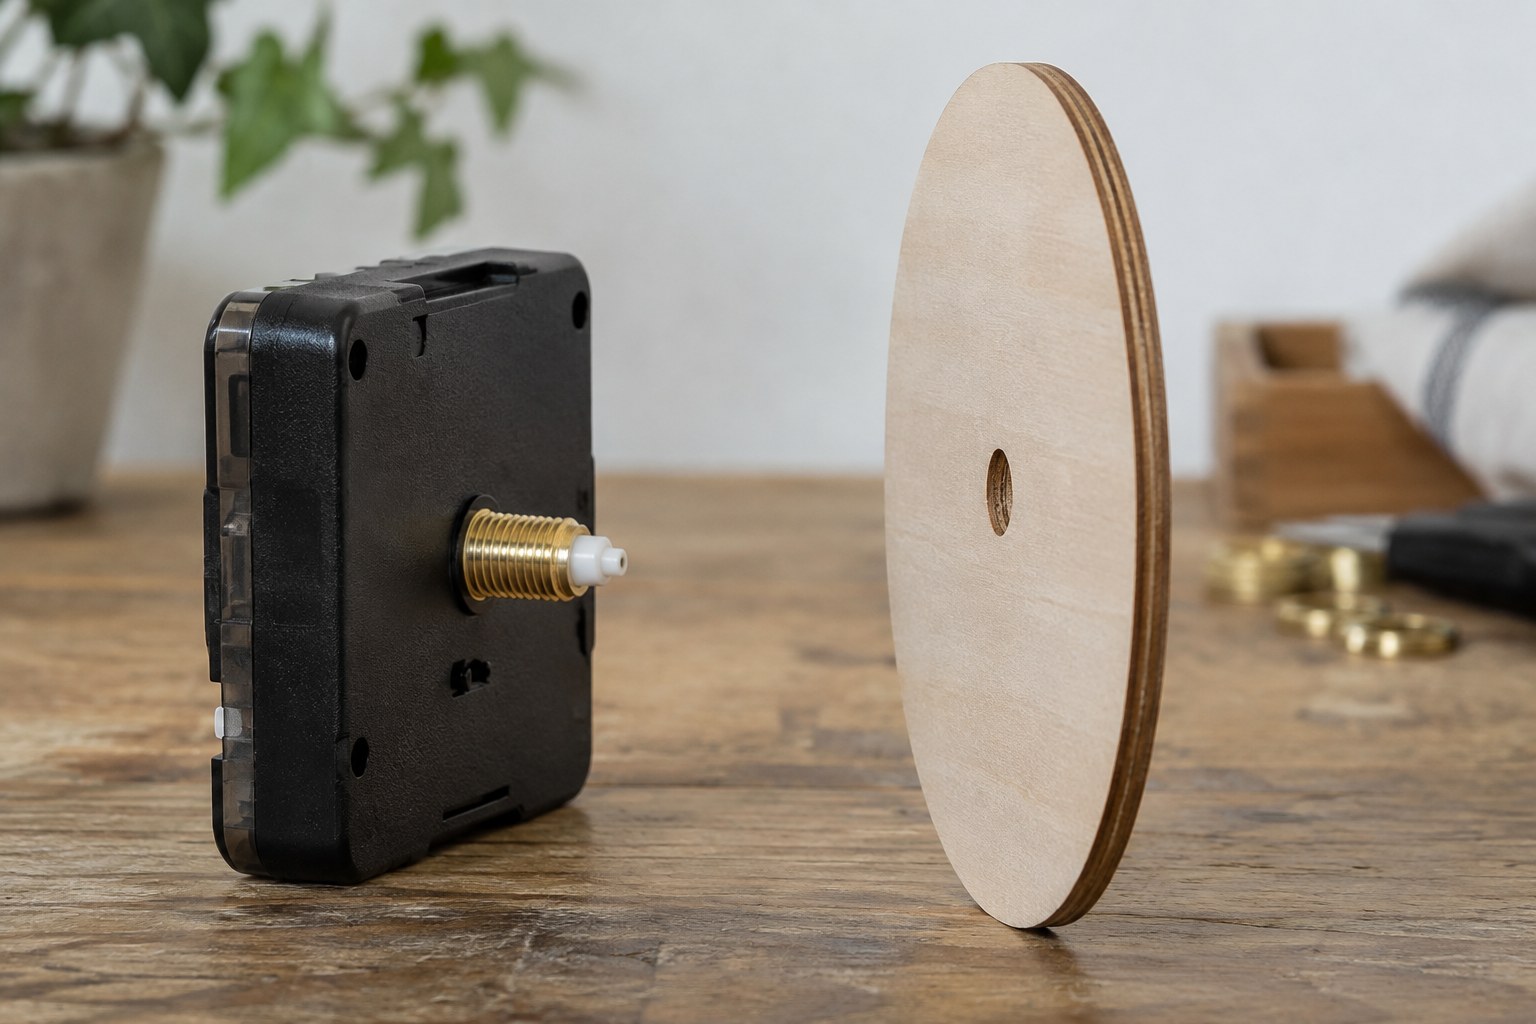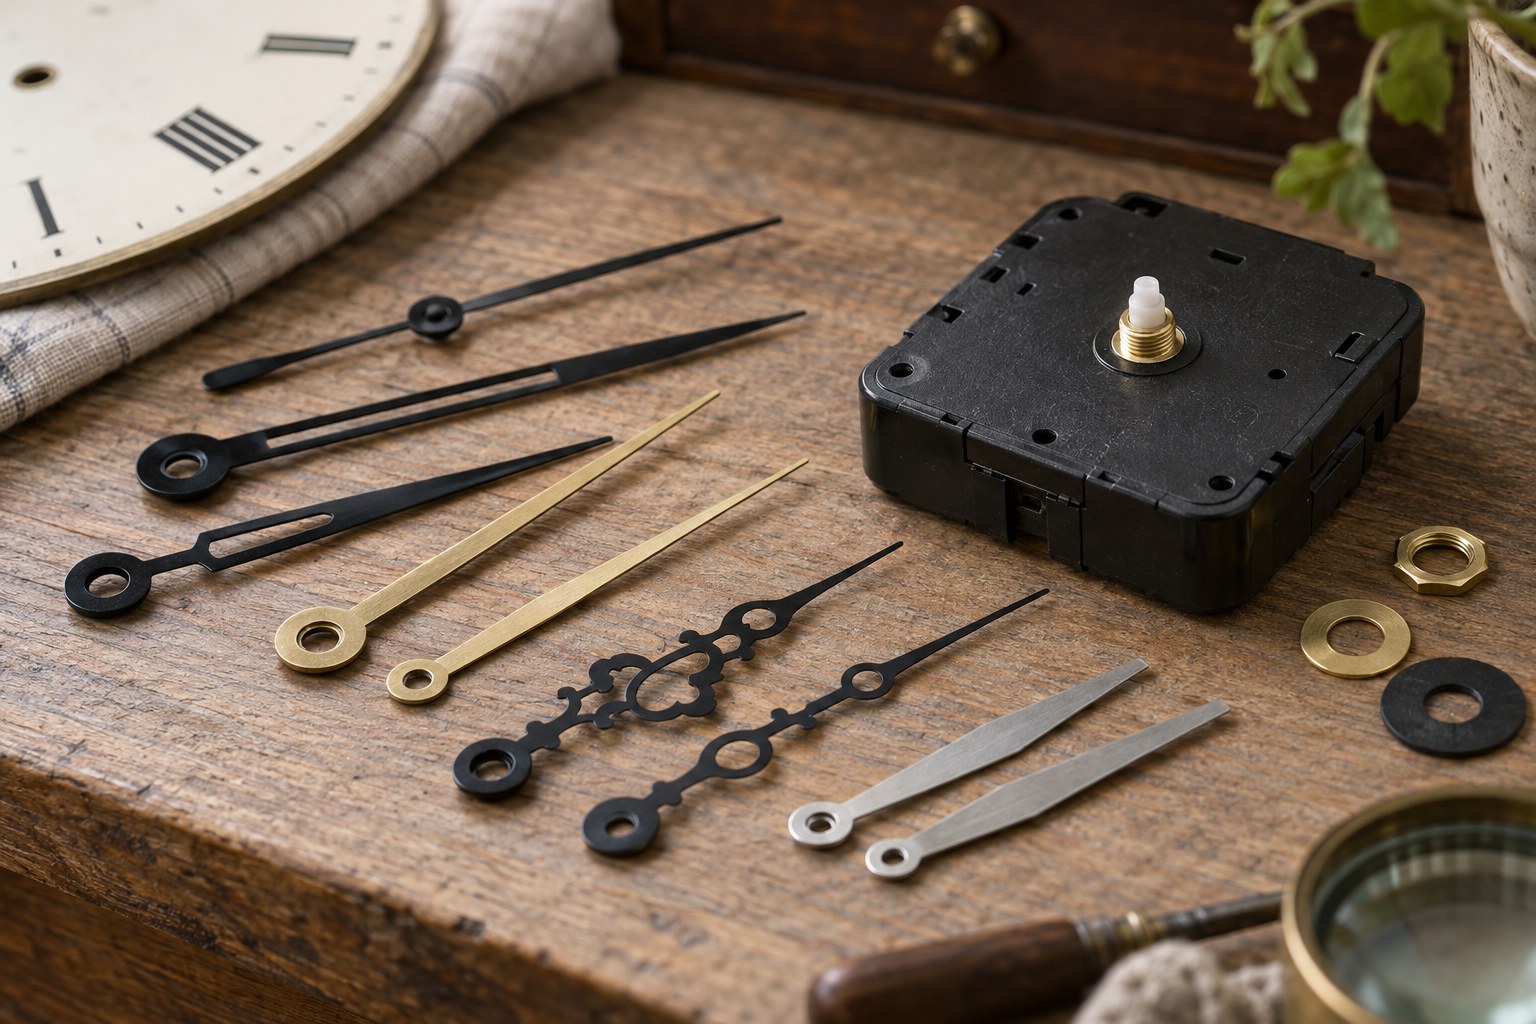
Finish the assembly first
Confirm that the components match the supplier's specification and that the battery type is correct. Before inserting it, inspect the completed clock for loose hardware, trapped material and contact between hands, dial and cover. Use the approved setting control rather than moving delicate hands by force.
Make sure the back and battery cover are secured as designed. A successful test with an open case may miss a fault introduced when the rear panel is fitted. If the movement is squeezed by that panel, revise the fit rather than leaving the enclosure partly open.
Support the clock upright
Place the clock securely in its normal operating orientation where it cannot slide or fall. Do not balance a wall clock on a narrow rim just to make it stand. A suitable temporary support should carry the case without pressing on controls, exposed hands or the movement.
Set the time against one reference and record the start time. Observe several different hand positions, including where the hands pass close together and approach any raised decoration. Let it complete a full twelve-hour display cycle if practical; a brief initial tick cannot establish clearance around the whole dial.
Separate faults from observations
Write down what happens and when. Repeated hesitation at one position suggests a different investigation from a constant time offset, but neither observation proves a particular internal fault. Remove the battery before checking the assembly again and stay within the instructions for that kit.
Assess the hanging arrangement
After the clock has run satisfactorily, inspect its intended hanging point and the wall fixing separately. The movement mounting nut is not automatically a load-bearing hanger. Use the specified attachment arrangement and suitable wall hardware, then check that the installed position leaves access for setting and battery replacement without an unsafe reach.