Describe the finished clock
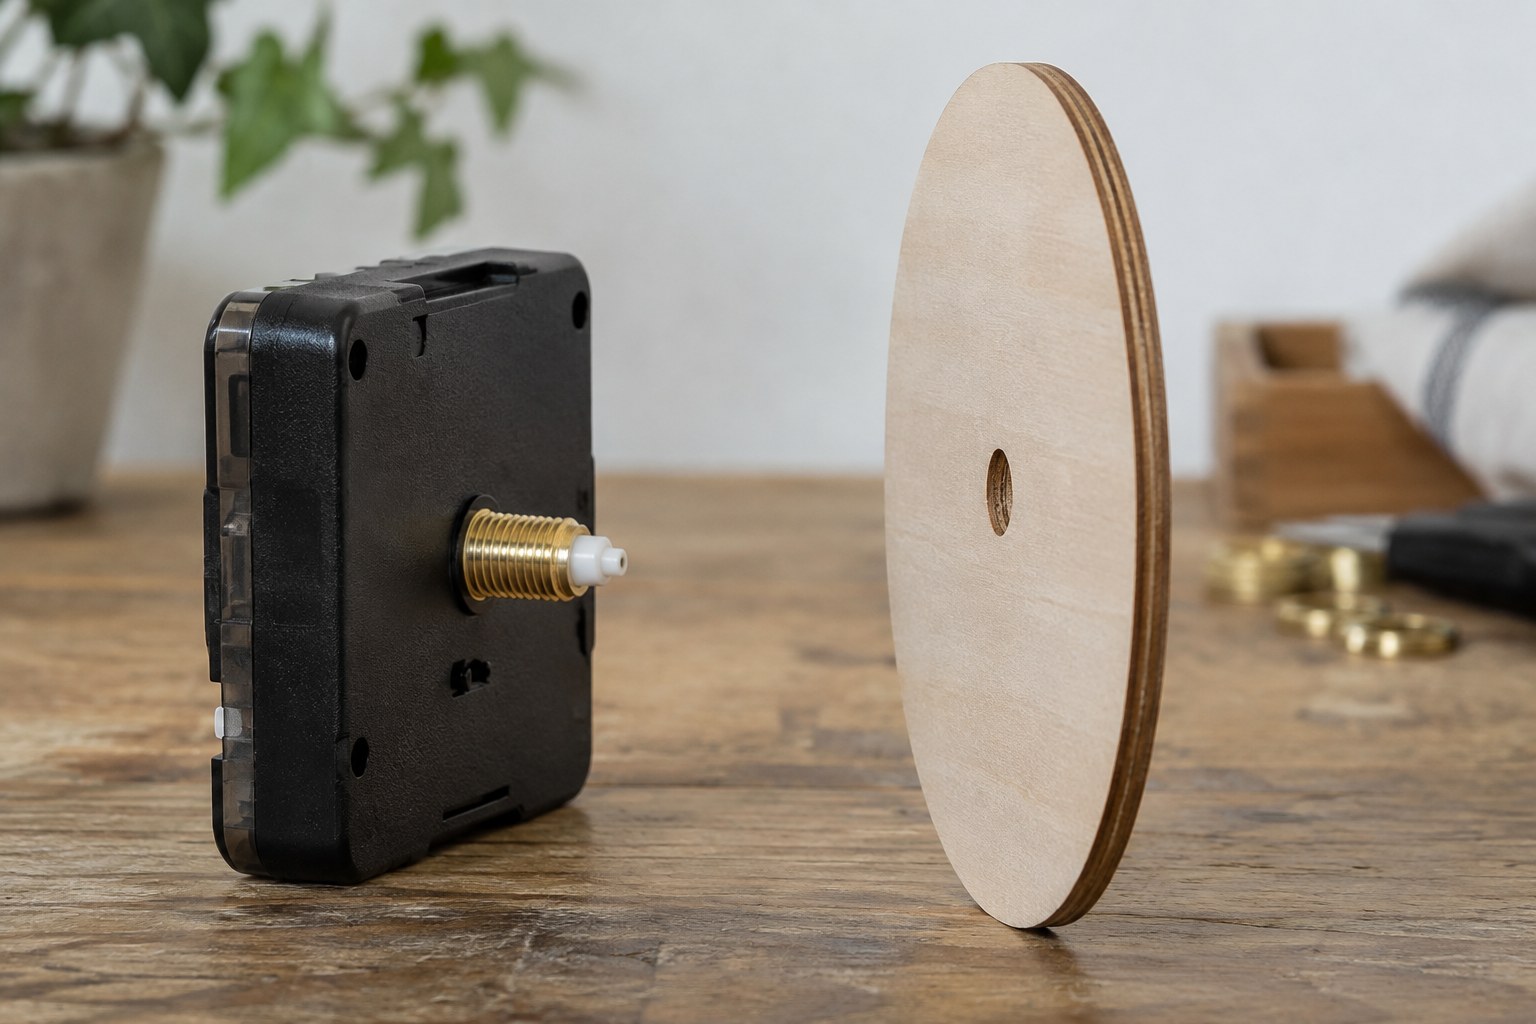
Begin with the intended face size, whether it will stand or hang, and whether it has a cover. Note the available depth and the material chosen for the dial. These decisions affect several components at once, so write them above the shopping list rather than leaving them scattered across bookmarks.
For a first project, consider a documented kit or a supplier-confirmed movement and hand combination. That still leaves room for a personal dial design, while reducing uncertainty about the small fittings at the centre.
Record matching details
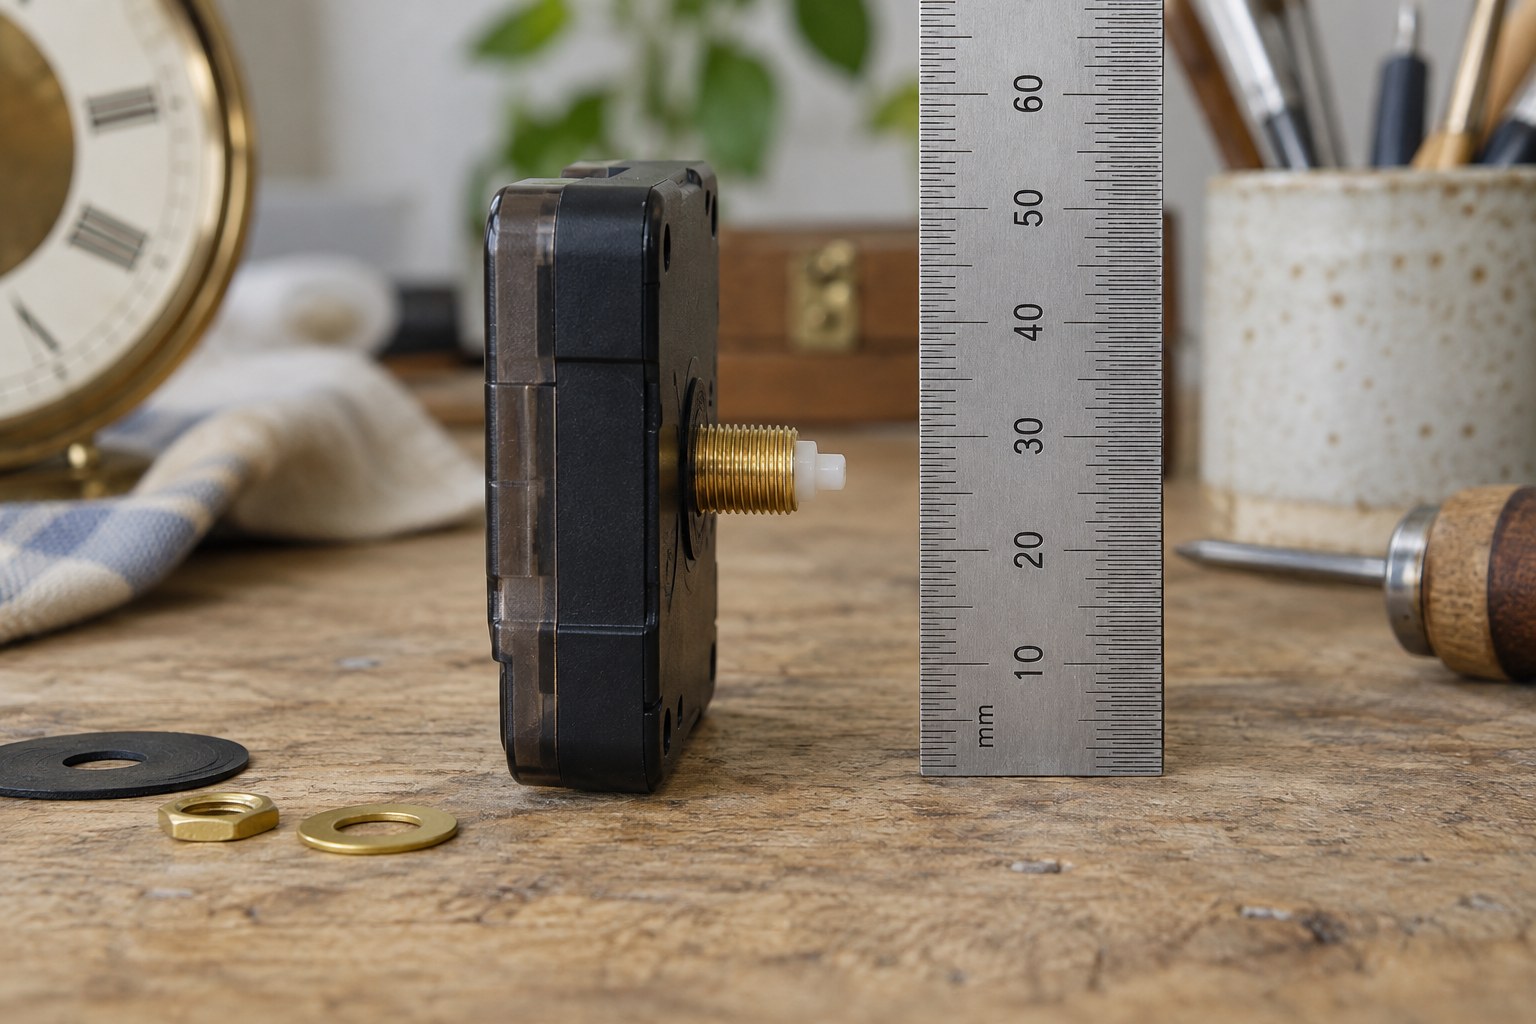
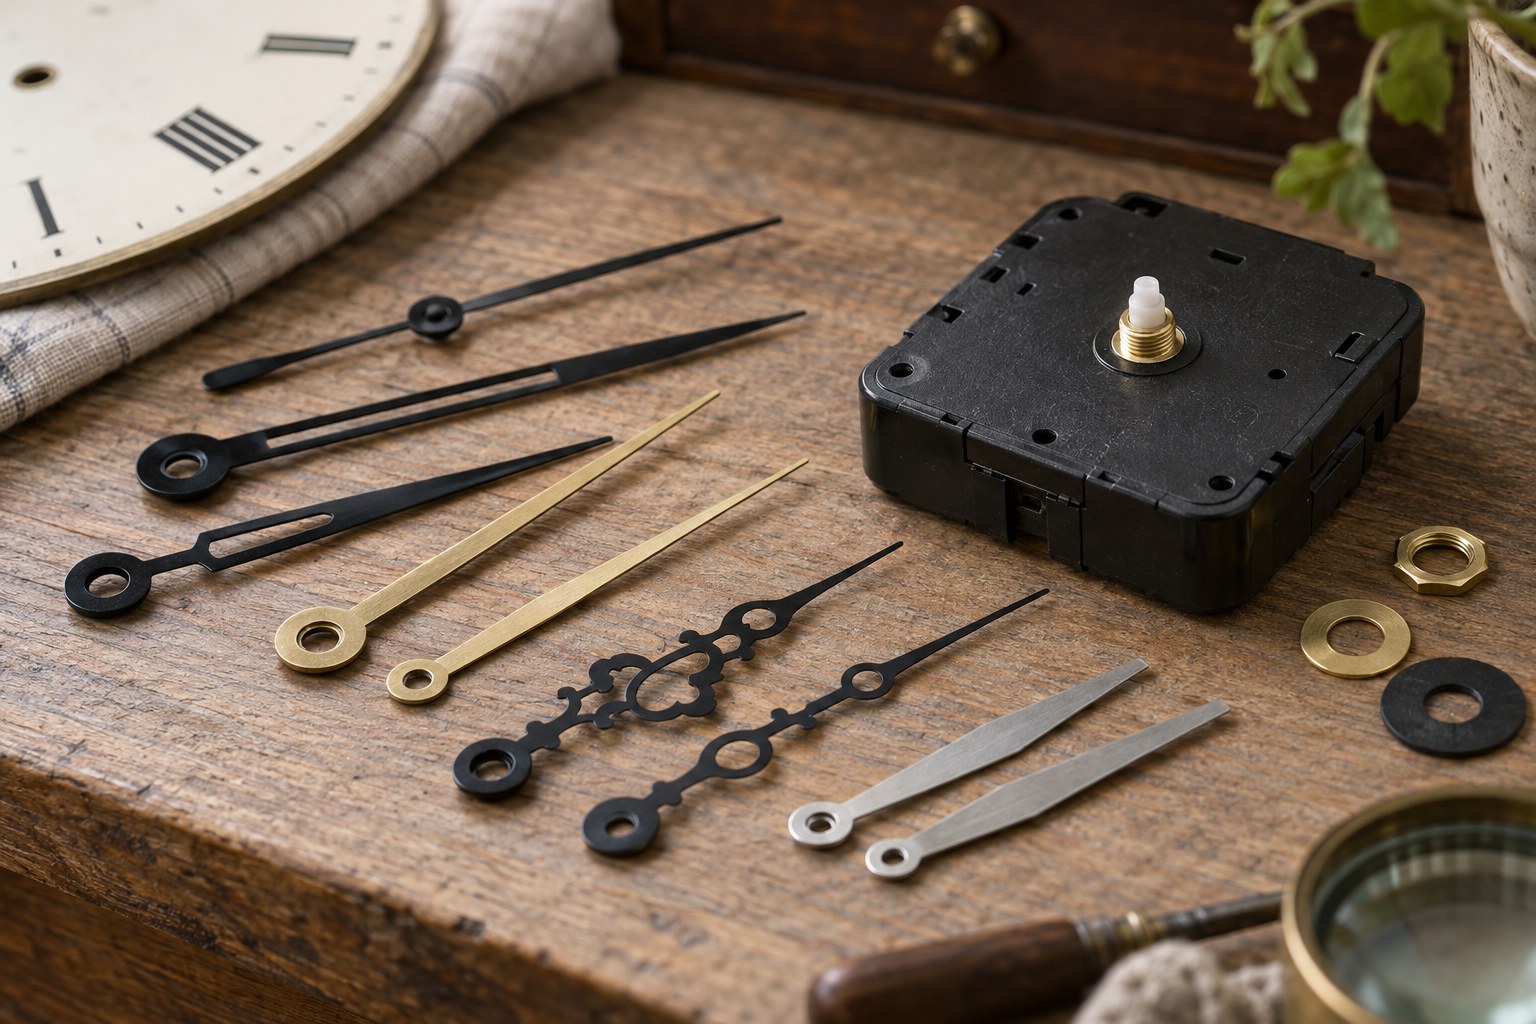
List the movement's exact reference, specified dial-thickness range, overall shaft dimensions and required battery. Add the matching hand-set reference and centre-to-tip lengths. If a second hand is optional, record your choice explicitly so it does not become a late purchase based only on appearance.
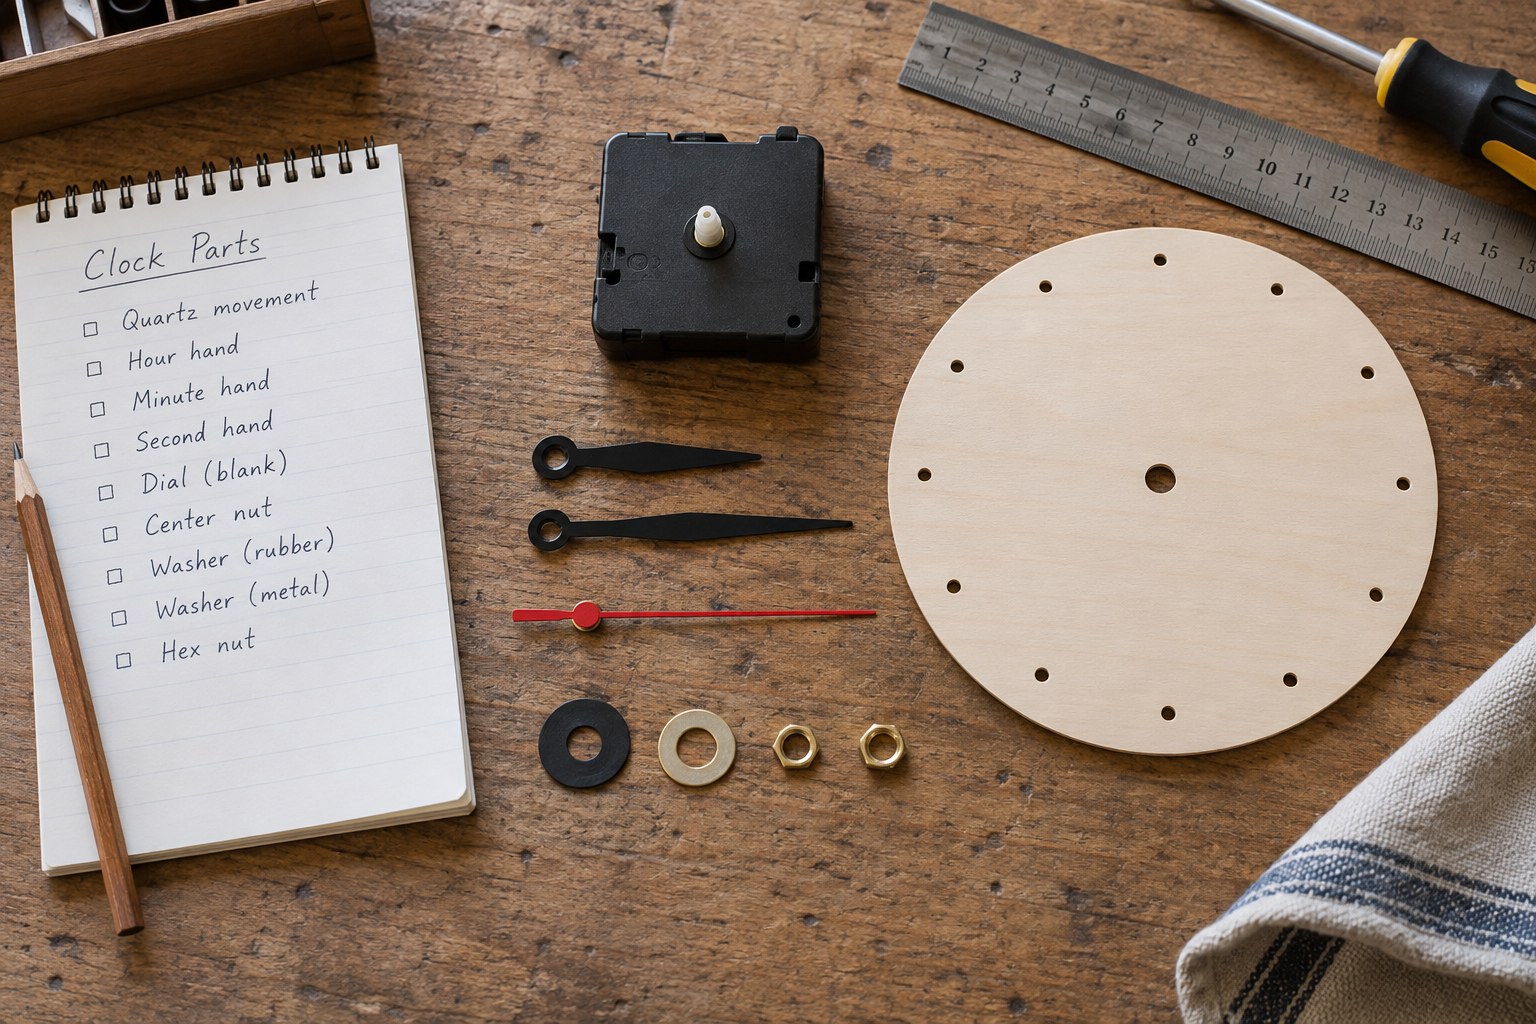
Include the backing, cover and mounting arrangement. Mark which nuts, washers or retainers are supplied with the movement and which are separate. This prevents buying unnecessary duplicates while overlooking a supporting part. A hanging loop needs to be suitable for the completed construction, not simply included in the cheapest pack.
Separate tools from materials
Make a second list for the tools and work surface required by the instructions. Include measuring equipment and a parts tray before any decorative supplies. If the assembly requires a tool or process you cannot use competently, resolve that gap before ordering an expensive face material.
Check the delivery
Keep supplier drawings with the list and note any written compatibility confirmation. On arrival, tick off actual part references rather than just counting packets. Retain packaging until the fit has been checked, and record any changes made during the build so the final list describes the completed clock rather than the original plan.