Recheck the simple details
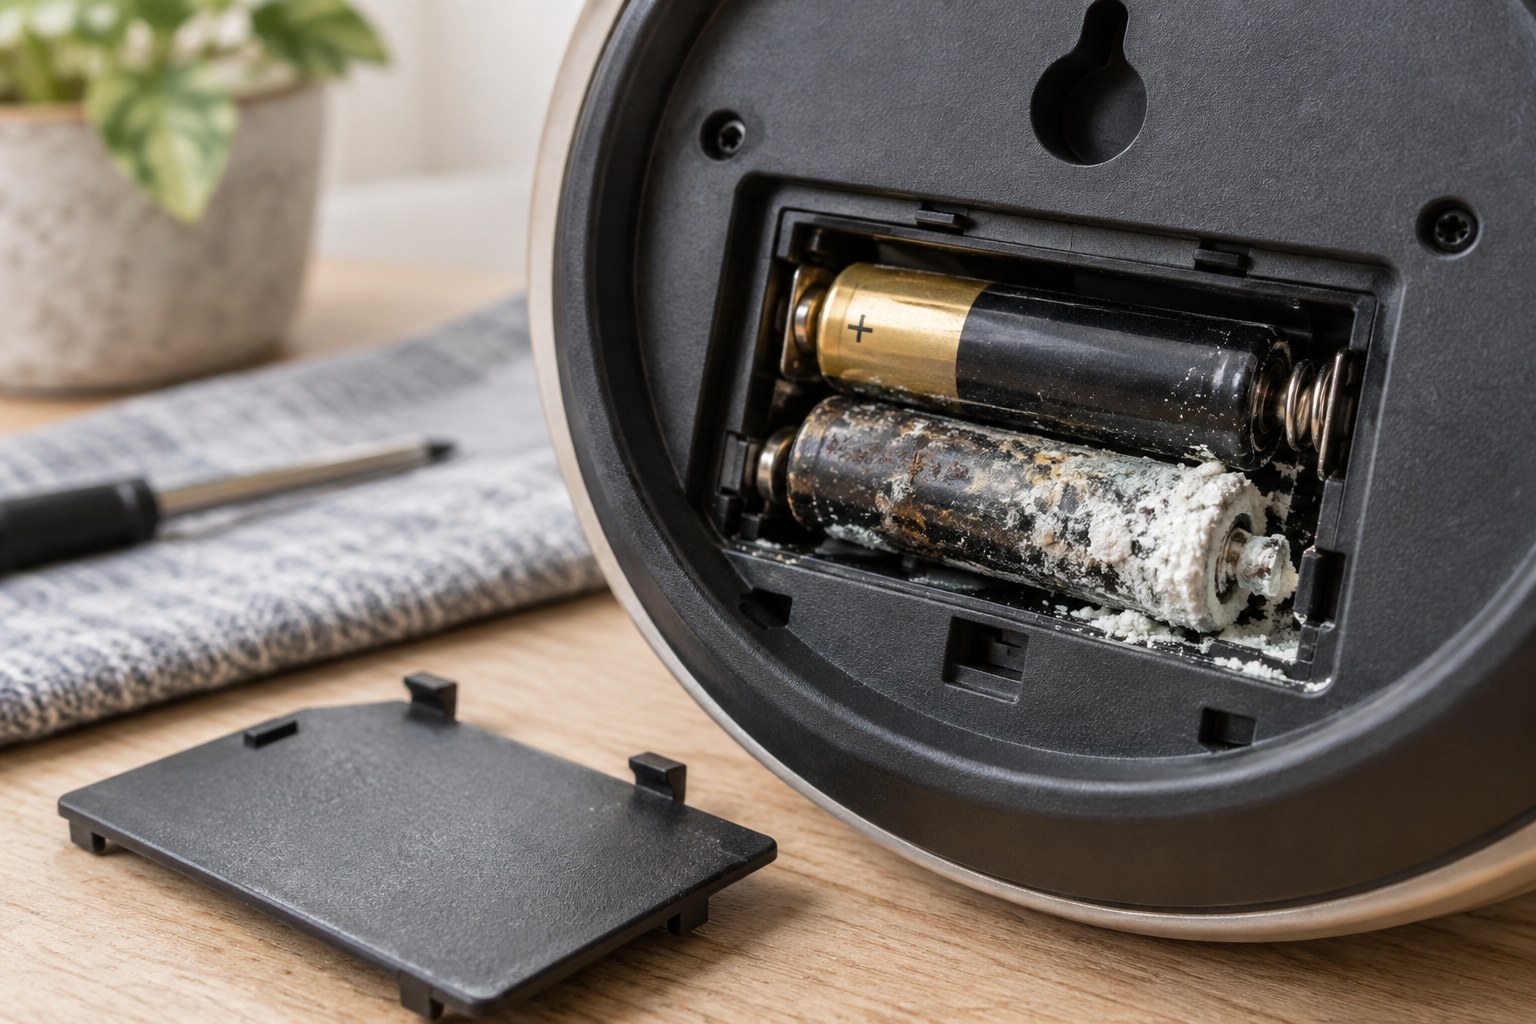
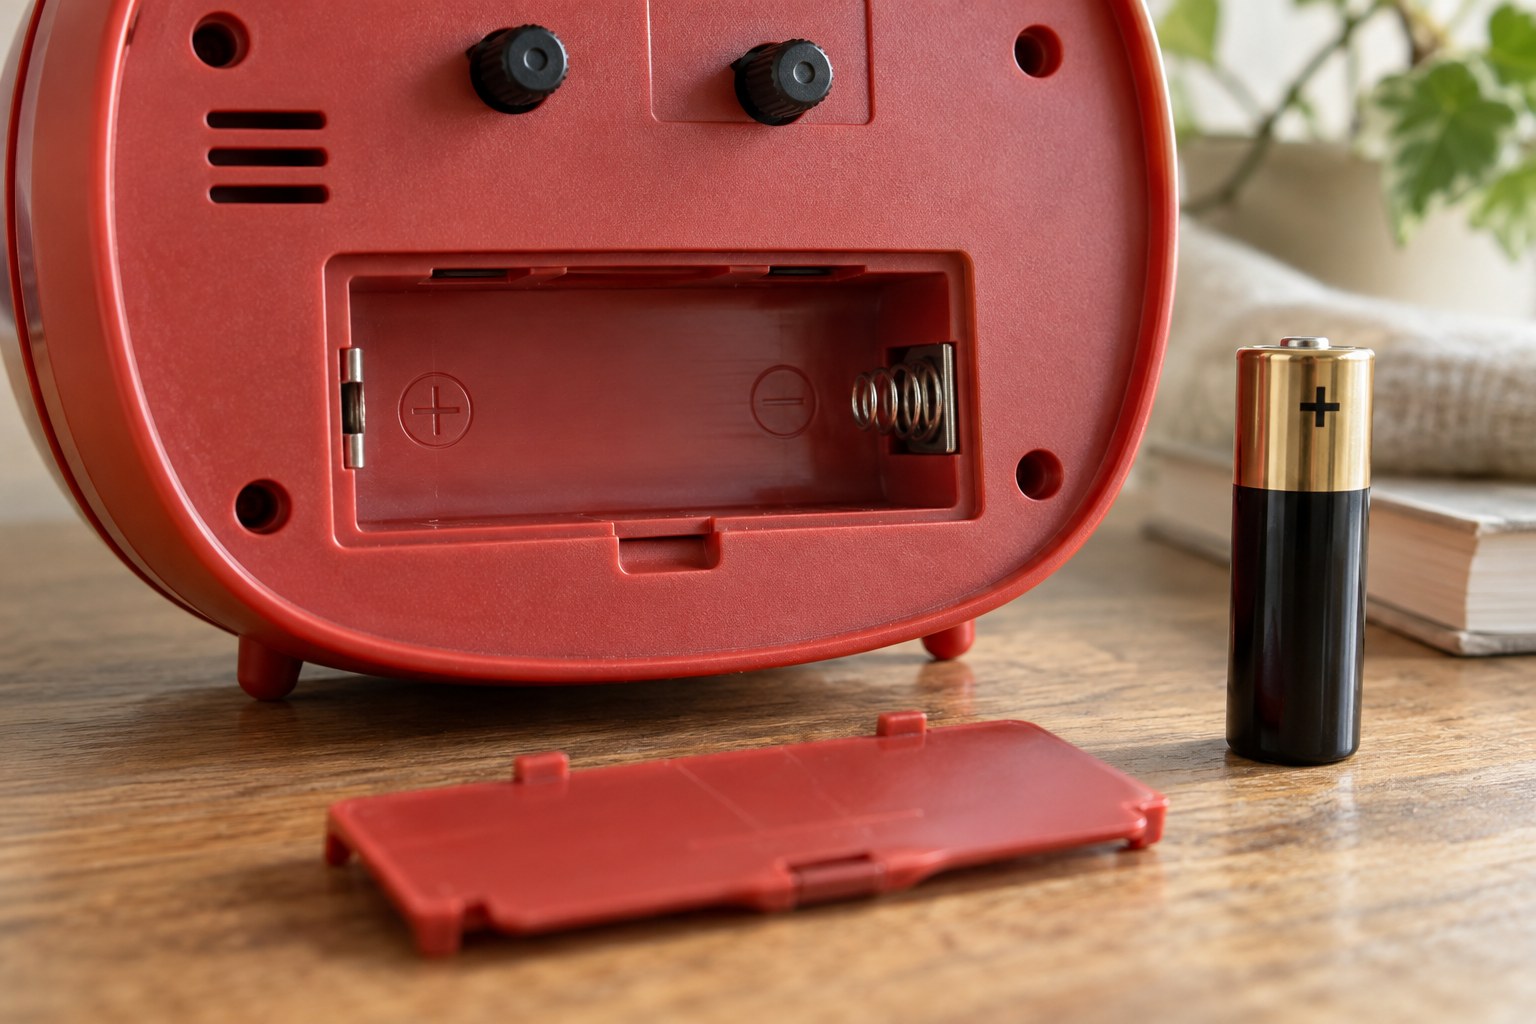
Compare the cell with the exact type specified in the manual. Confirm the plus and minus orientation from the markings, not from how another device holds its battery. Check whether the clock uses more than one compartment for separate functions. If it is new, look for a documented transport tab that should be removed, but do not pull unfamiliar strips or seals. Inspect the compartment visually for damage or residue. Stop if anything is leaking, distorted or stuck; this is no longer an ordinary battery replacement.
Allow for the model's start-up procedure
Some clocks begin running as soon as a battery is inserted. Others require a reset or a period of automatic setting, particularly radio-controlled designs. Follow the sequence for the exact model rather than pressing every button in turn. Keep the clock in a safe position while it completes that process, and allow the time stated in the instructions. If a reception indicator is present, use it to distinguish a signal-setting problem from a clock that shows no sign of power. These are different symptoms even if the displayed time is wrong in both cases.
Stop before adjustment becomes guesswork
If the clock still fails to start, record the battery type, the steps followed and any movement or sound observed. Look at the hands from outside the case for obvious interference, without bending or pulling them. Do not wedge foil against a contact, stretch a spring or spray the compartment. Contact the manufacturer or a repairer with the model label and photographs. For a recently purchased clock, check the warranty route before dismantling anything. A replacement mechanism may eventually be appropriate, but it should follow identification and compatibility checks rather than a guess based on the front appearance.